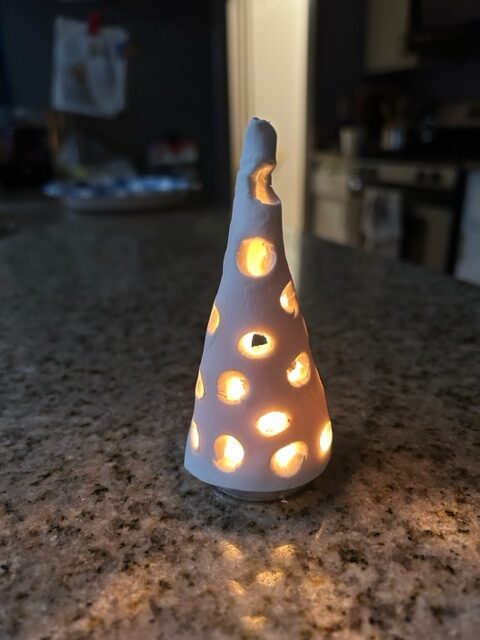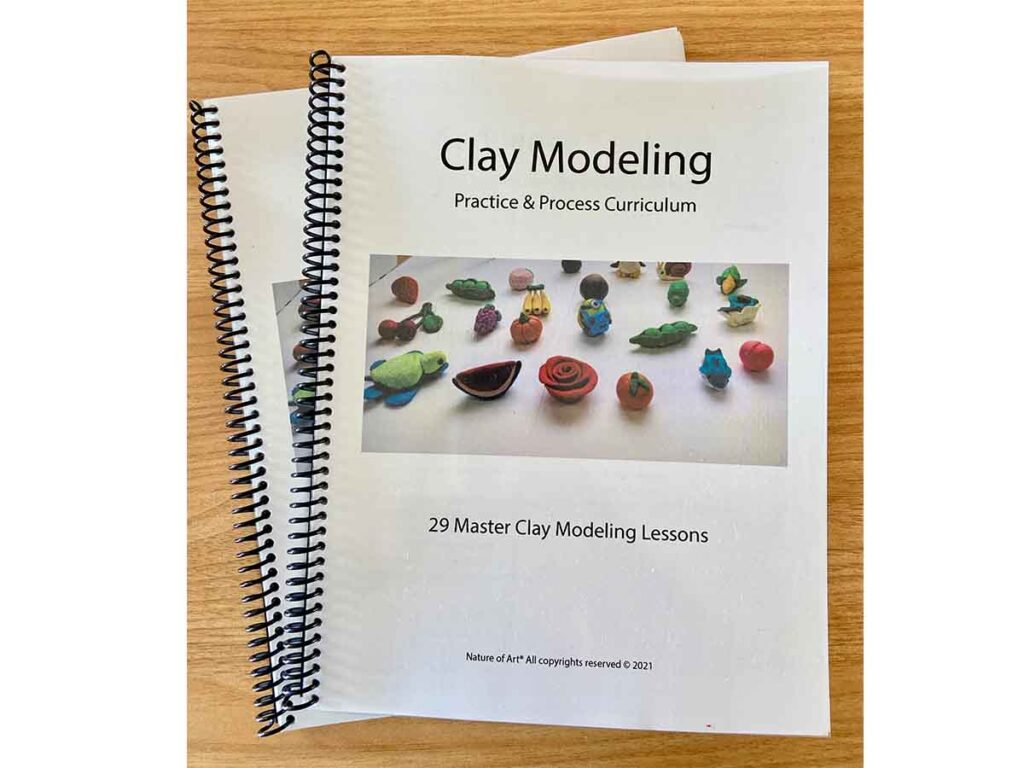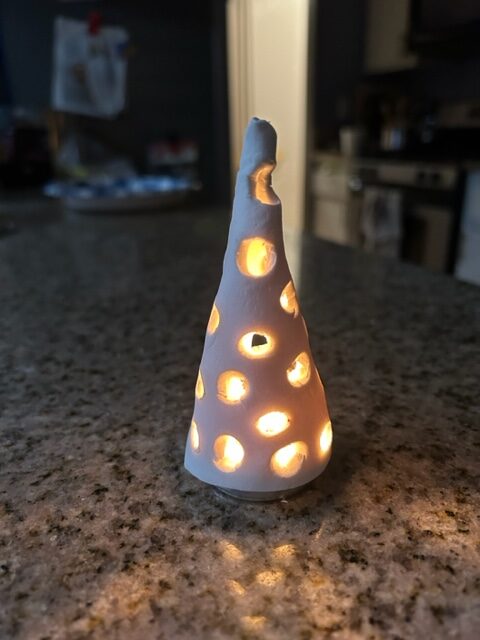
| Happy Winter Solstice! I thought I would pop in and share a fun Clay Modeling Art Lesson to celebrate winter using air dry clay I saw this craft done on another blog, one of my favorite adult crafter blogs – A Beautiful Mess . So I thought “Hey I could teach this to children!”. In fact in my clay modeling curriculum there’s a similar 3D luminary candle modeling project I included. I was able to do this simple tree Clay Modeling Art Lesson in a matter of minutes. I made my example small, but I would recommend making it larger for a standard tea light candle. Taller and wider would create better air flow. There’s many art elements taught in this lesson, such as 3 dimension, shape, fractions and degrees, plus classic clay modeling techniques. Here’s what you will need: White air dry clay Straw to poke holes with Rolling pin A butter knife to cut tree shape out of the clay Tea Light Candle |
| Step 1 Roll clay out flat Step 2 Cut out an elongated triangle. Draw out a circle and divide it into five parts. You can trim out two parts and use this as a tree template. Step 3 Poke holes all over the triangle – so light can shine through the holes when a candle is lit under it, creating a lumiary candle holder. I used a bamboo straw in my pictures. These holes can also represent ornaments on the tree. Step 4 Create a pattern of holes all over the tree shape. Step 5 Roll it out thinner one more time before you join the edges. I recommend making a few different sizes. I made mine too small for my tea light. I’m going to make larger ones for a set. |
| Step 6 Join the edges together by pinching clay with your fingers. Step 7 Cut the top of the winter tree off so air can vental out. Let dry over night. I was too excited and used my blow dryer to speed up the drying process. Let your children experiment with their own ideas. You could also paint them when the clay is dry, and. even add glitter for some sparkle! |
| Happy Holidays, love to hear your feedback. Warmly, Art Teacher – Spramani Elaun |


