


Halloween Rock Painting: A Kids Art Project
By Spramani Elaun
Painting spooky Halloween rocks is a favorite seasonal art activity in my classes and workshops. It’s a simple, playful project that children enjoy year after year, especially around Halloween.
In this post, I’m sharing practical setup ideas and painting tips to help make rock painting a positive experience for children. As with any art activity, results will vary depending on a child’s age, experience with painting, and time spent working.
Rock painting is a hands-on way for children to explore color, brush control, and surface texture while creating fun Halloween-themed designs.

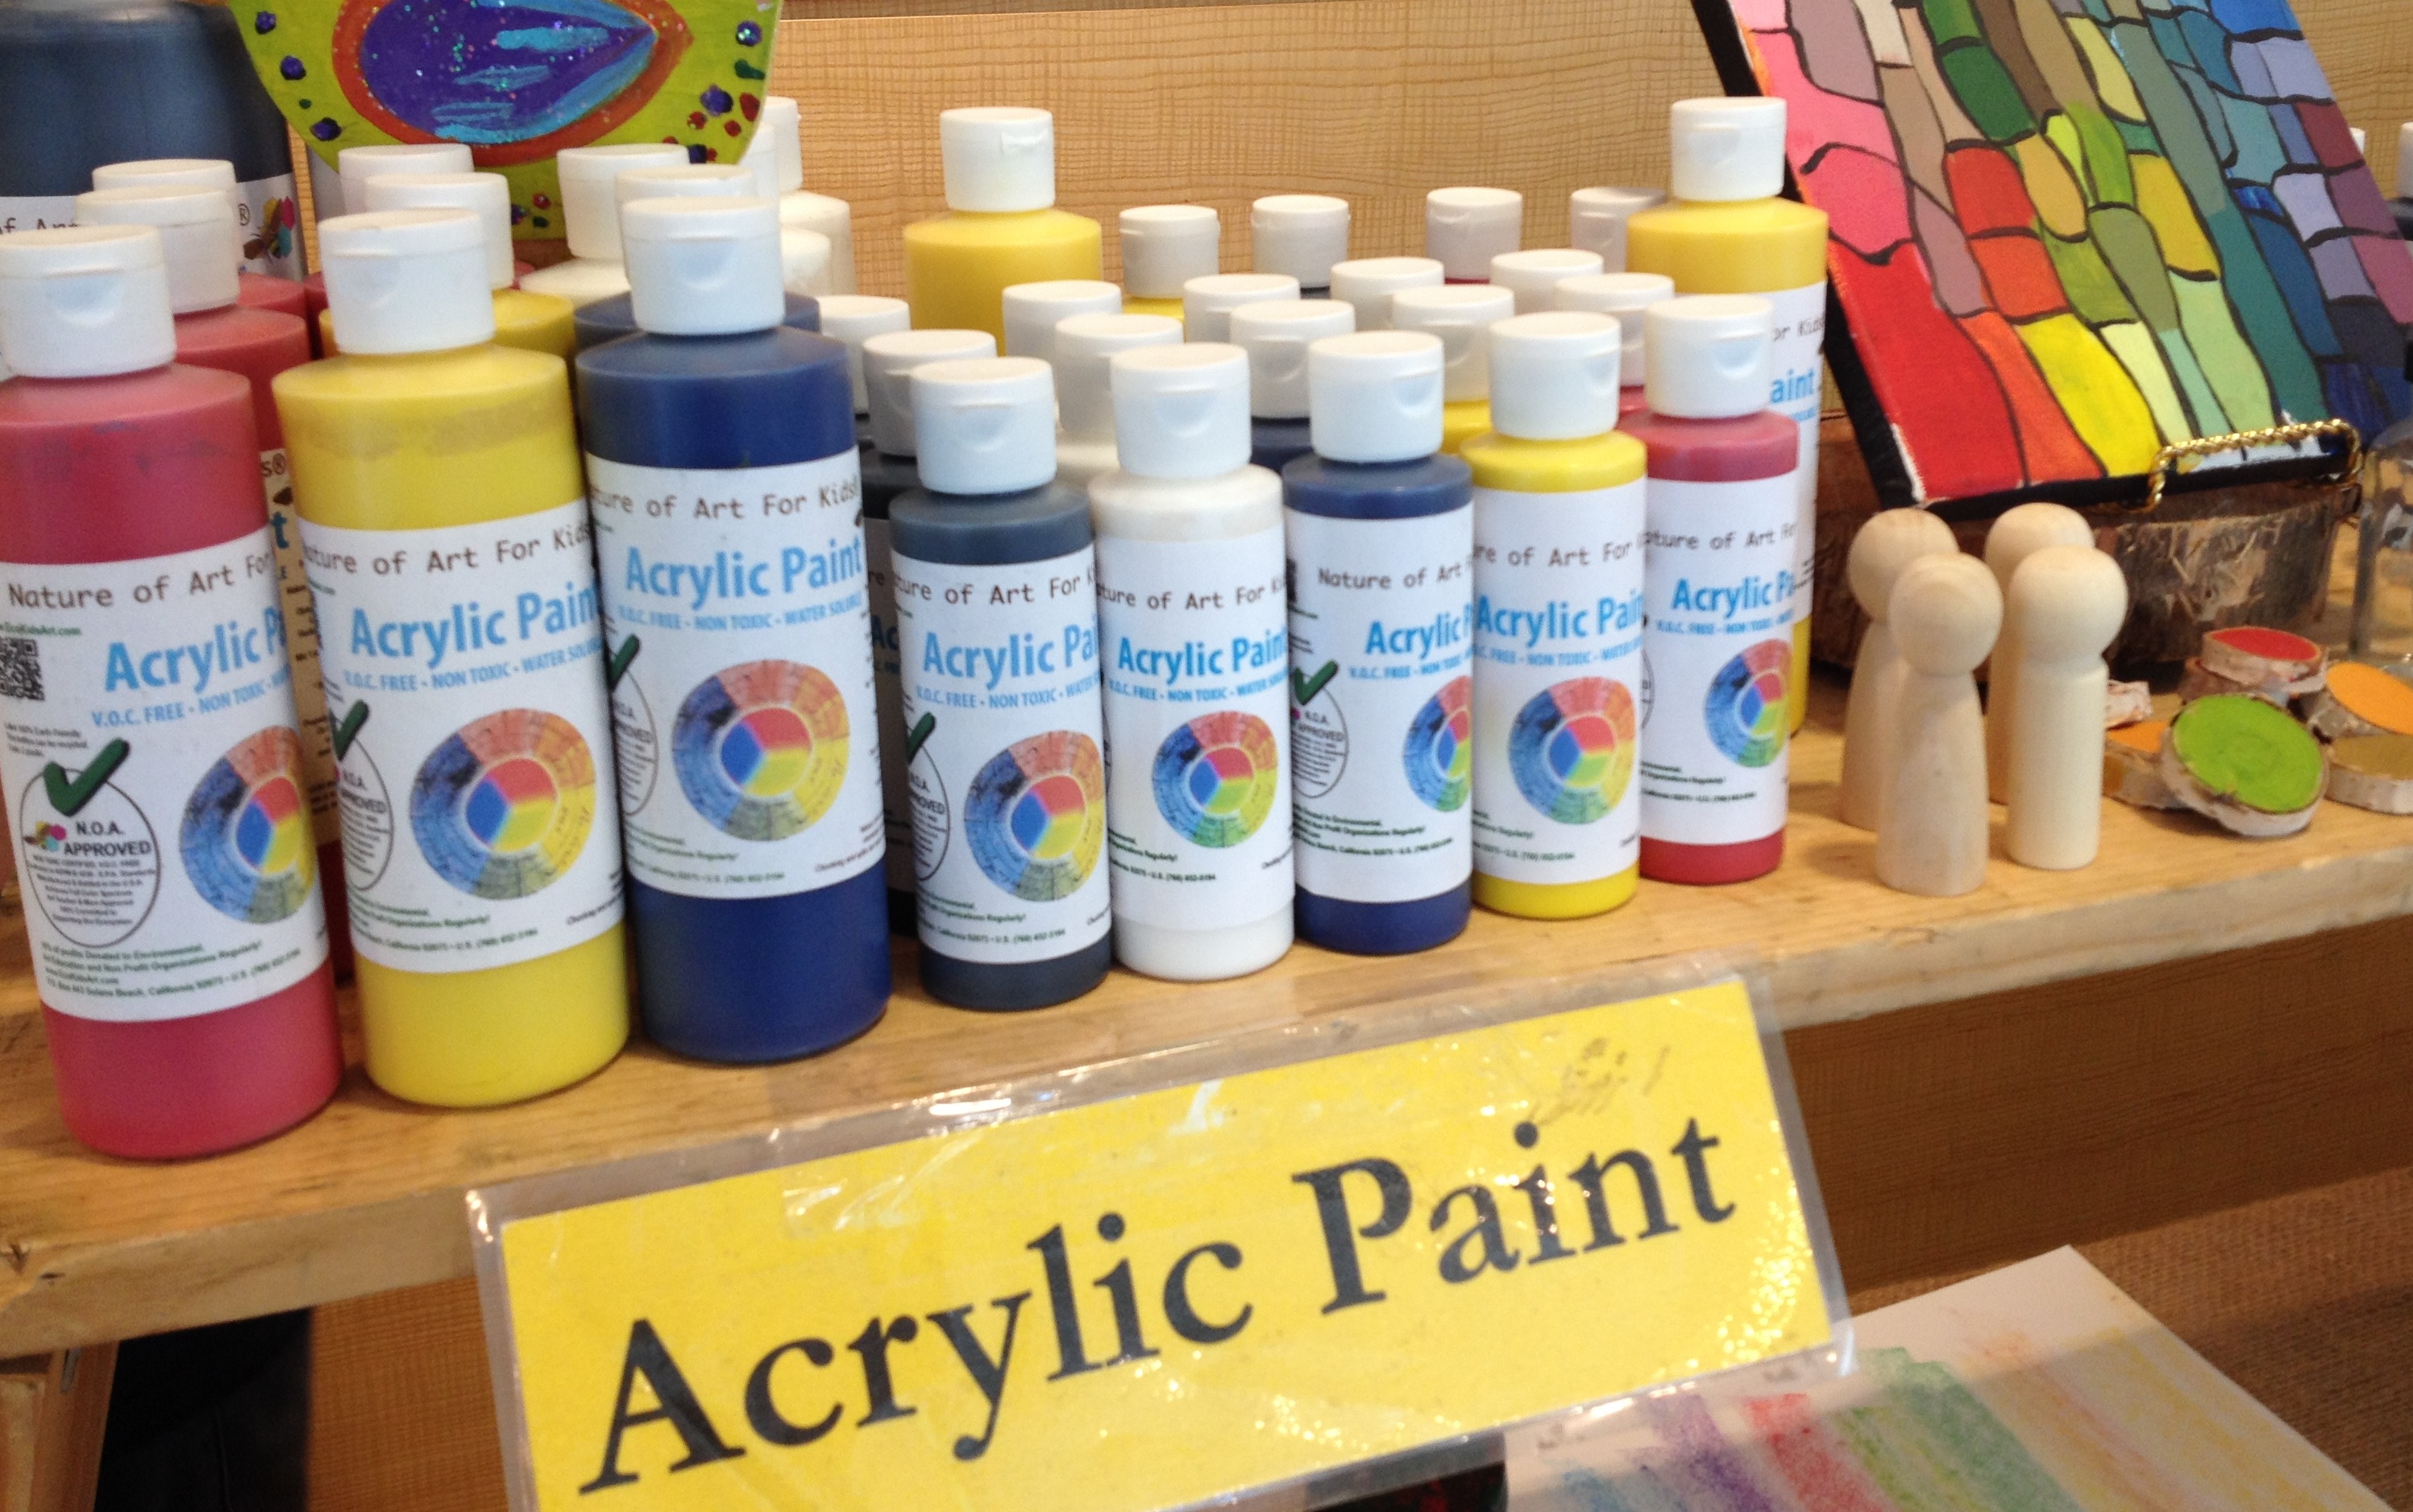
Choosing Paint for Rock Painting
Acrylic paint works especially well on natural rocks because it adheres to the surface and dries with a durable finish. When working with children, always choose non-toxic, child-safe acrylic or craft paints.
You don’t need many colors to create fun Halloween designs. A small palette of colors goes a long way.
Suggested Color Ideas
- White: ghosts, mummies, skulls, spider webs
- Black: bats, black cats, jack-o’-lantern details
- Orange: pumpkins and jack-o’-lanterns
- Red: spooky accents and decorative details
- Green: monsters, witches, Frankenstein-inspired designs
- Purple: hats, spiders, monster details
- Yellow: candy corn and glowing eyes

Finding Rocks to Paint
Collecting rocks can be part of the fun. Children enjoy searching for rocks and imagining what each shape might become once painted.
- Look for rocks outdoors in gardens, yards, beaches, or along riverbeds
- Garden stores often sell small landscape rocks if collecting outdoors isn’t practical
- Smooth, flat rocks are easiest for painting details
- Encourage children to choose rocks based on shape and size
Rock Painting Setup
Materials Needed
- Non-toxic acrylic or craft paint
- Paintbrushes: one small brush for details and one medium brush for coverage
- Water jar for rinsing brushes
- Napkins or paper towels
- Palette (a paper plate or recycled egg carton works well)
- Newsprint or scrap paper to protect the surface
- Smock or apron to protect clothing

Helpful Rock Painting Tips
Tip 1: Rocks Don’t Absorb Paint Like Paper
Rocks are smooth and non-porous. Before dipping a brush into paint, make sure excess water is wiped off. Too much water will cause paint to drip and lose definition.
Tip 2: Paint the Background First
If a solid background color is desired, paint it first and allow it to dry completely before adding details. This helps keep colors clean and prevents smearing.
Example: Paint a ghost rock white first. Once dry, add black eyes and a mouth.
Tip 3: Let Rocks Dry in a Warm Spot
Acrylic paint dries faster with warmth. Rocks left in cool or shaded areas may take longer to dry. Placing finished rocks in a sunny spot can help speed up drying time.
Rock painting is an easy, flexible project that allows children to express creativity while practicing basic painting skills. It’s perfect for seasonal art and works well for a wide range of ages.
Warmly,
Spramani Elaun
A Short Cut Just for You
If you’d like to learn more about all getting kids painting, read my book, Kids Painting.

This article is intended for inspiration and general use. It does not provide formal training or certification instruction.


Read pumpkin painting for young kids, click here!
Read how to pick paints for kids art projects, click here!


All rights reserved © 2026, Nature of Art®

Nature of Art® provides art pedagogy
This website and its blogs supports individual educators in teaching children visual arts. It does not authorize professional development, staff training, or adaptation of the Science Art Method™ for institutional use.
No part of this blog may be used or be reproduced in any manner whatsoever including reproducing, publishing, performing, and making any adaptions of the work – including translation into another foreign language without written permission except in the case of brief quotations embodied in critical articles and reviews.
Nature of Art® Publishing P.O. Box 443 Solana Beach, California 92075.