Kids Art Painting | Ocean Water | Map Technique Lessons
By Spramani
I want to share eight different ocean water art techniques you can teach kids. These textures can make water maps and other interesting projects. These textures can also create ocean water marks around landforms. These lessons are great for primary to elementary grade students. Older children can do most steps independently.

Rather than painting water basic blue, use interesting ocean textures. You can turn learning about maps into fun engaging art. Yon can integrate geography with art making. Kids can also use these techniques in other types of art projects.
When children enjoy the process of creating textured papers, the lesson becomes interesting. Learning geography will become more meaningful because of the art they handmade. Children learn in layers and can connect information through the process of expressing. This makes creating more purposeful. Once children create textured papers, they will become more selective. They will be more deliberate with their map planning ideas.
Ocean Facts
Here’s a few fun facts you and your students can learn together:
Why is the ocean blue?
Why do some parts of the ocean look darker?
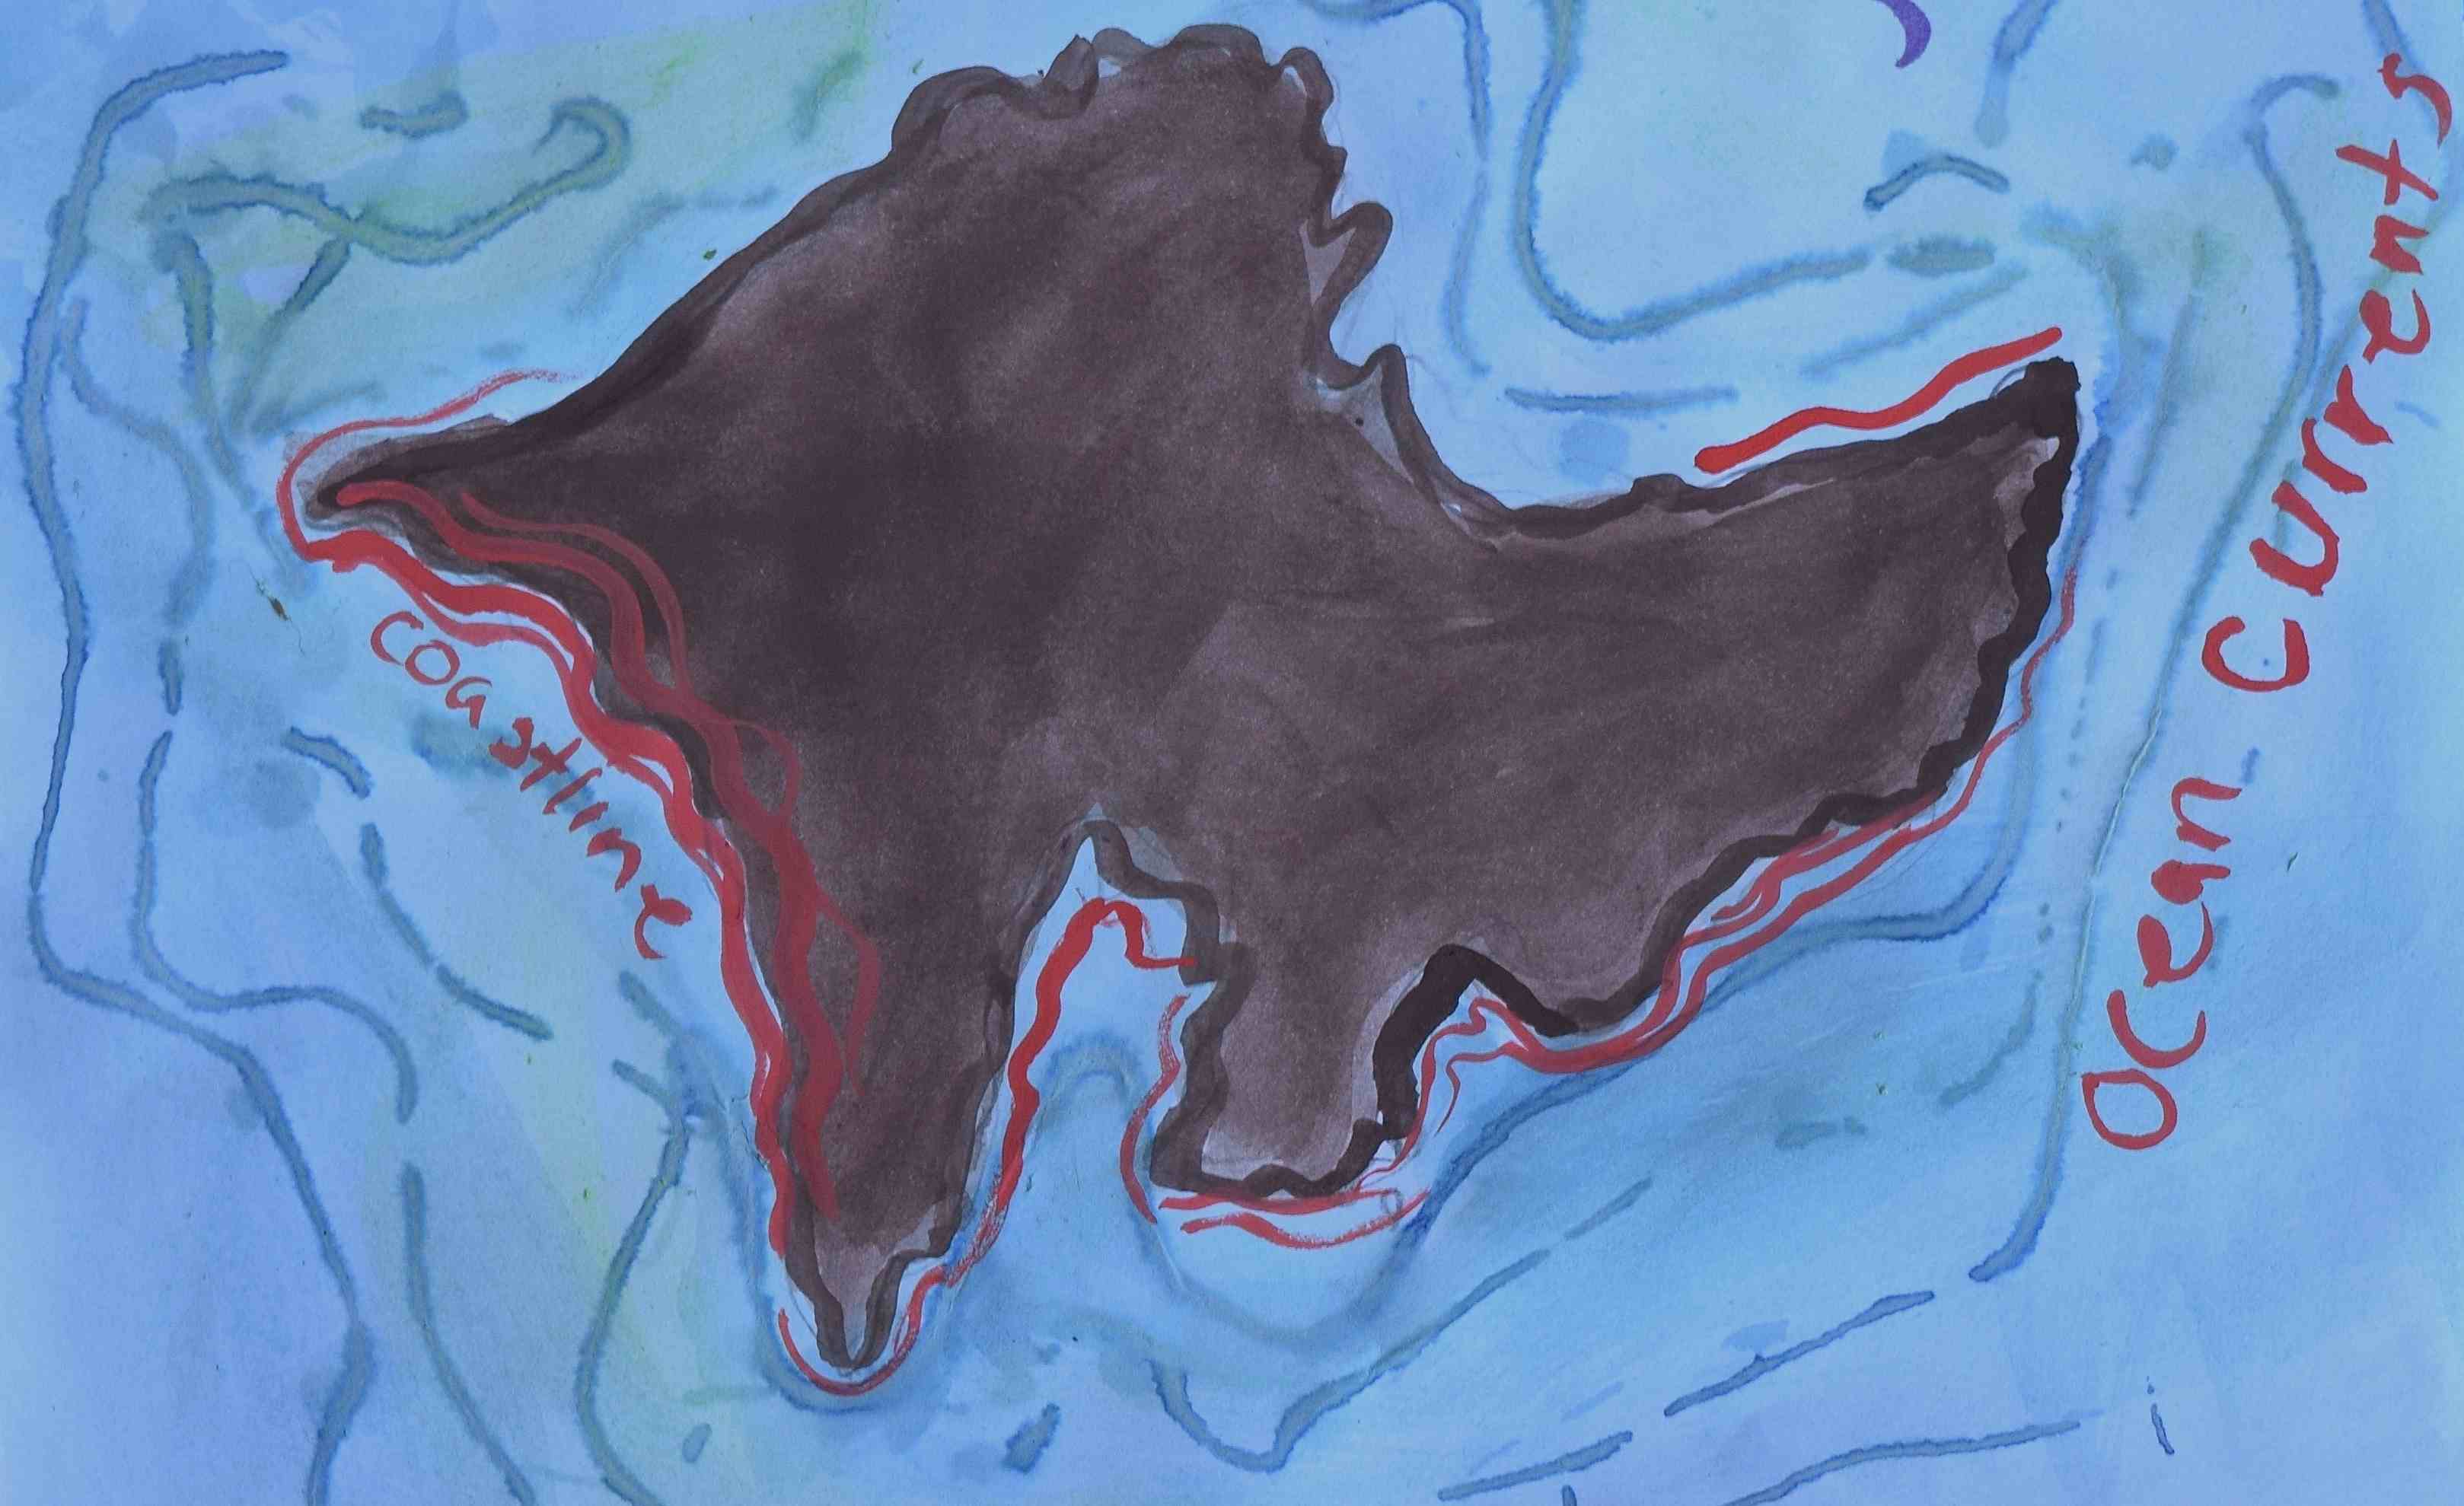
What is a coastline?
What causes waves in the ocean?
How much water covers our planet?
Why is the largest body of water salty?
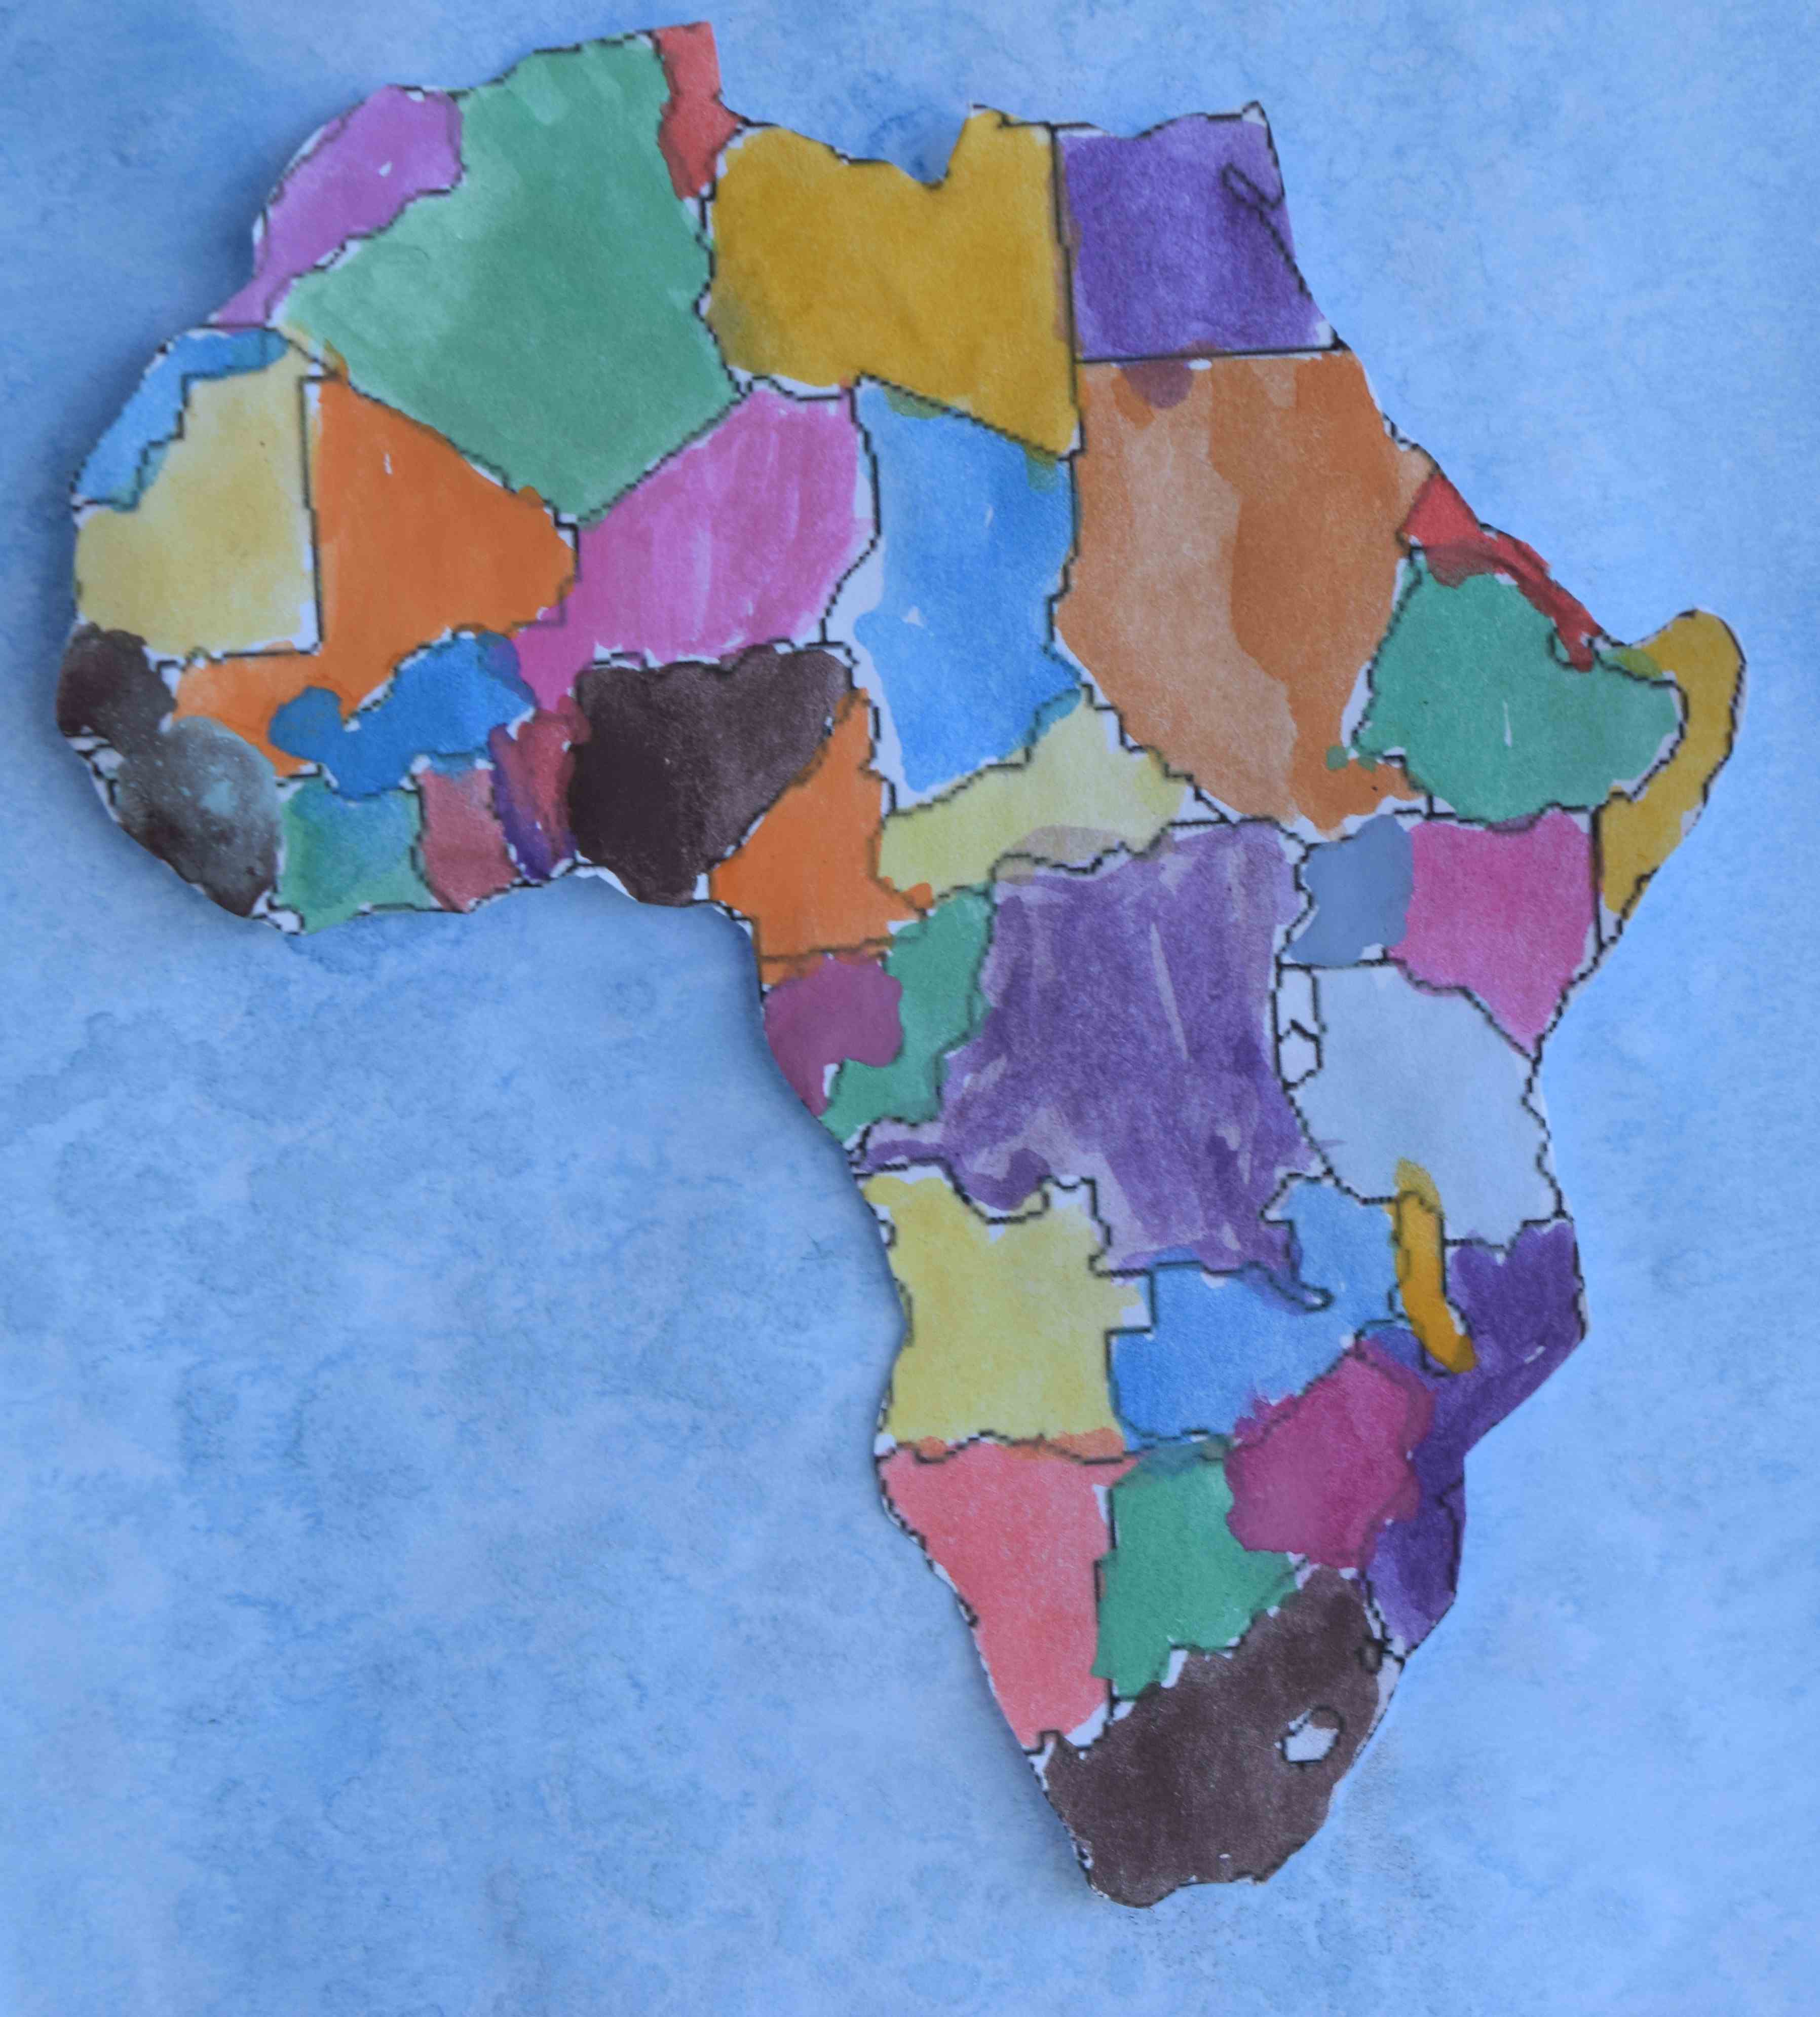
Ocean Maps
What is a globe?
What is a map?
What are the four orientations to the four directions?
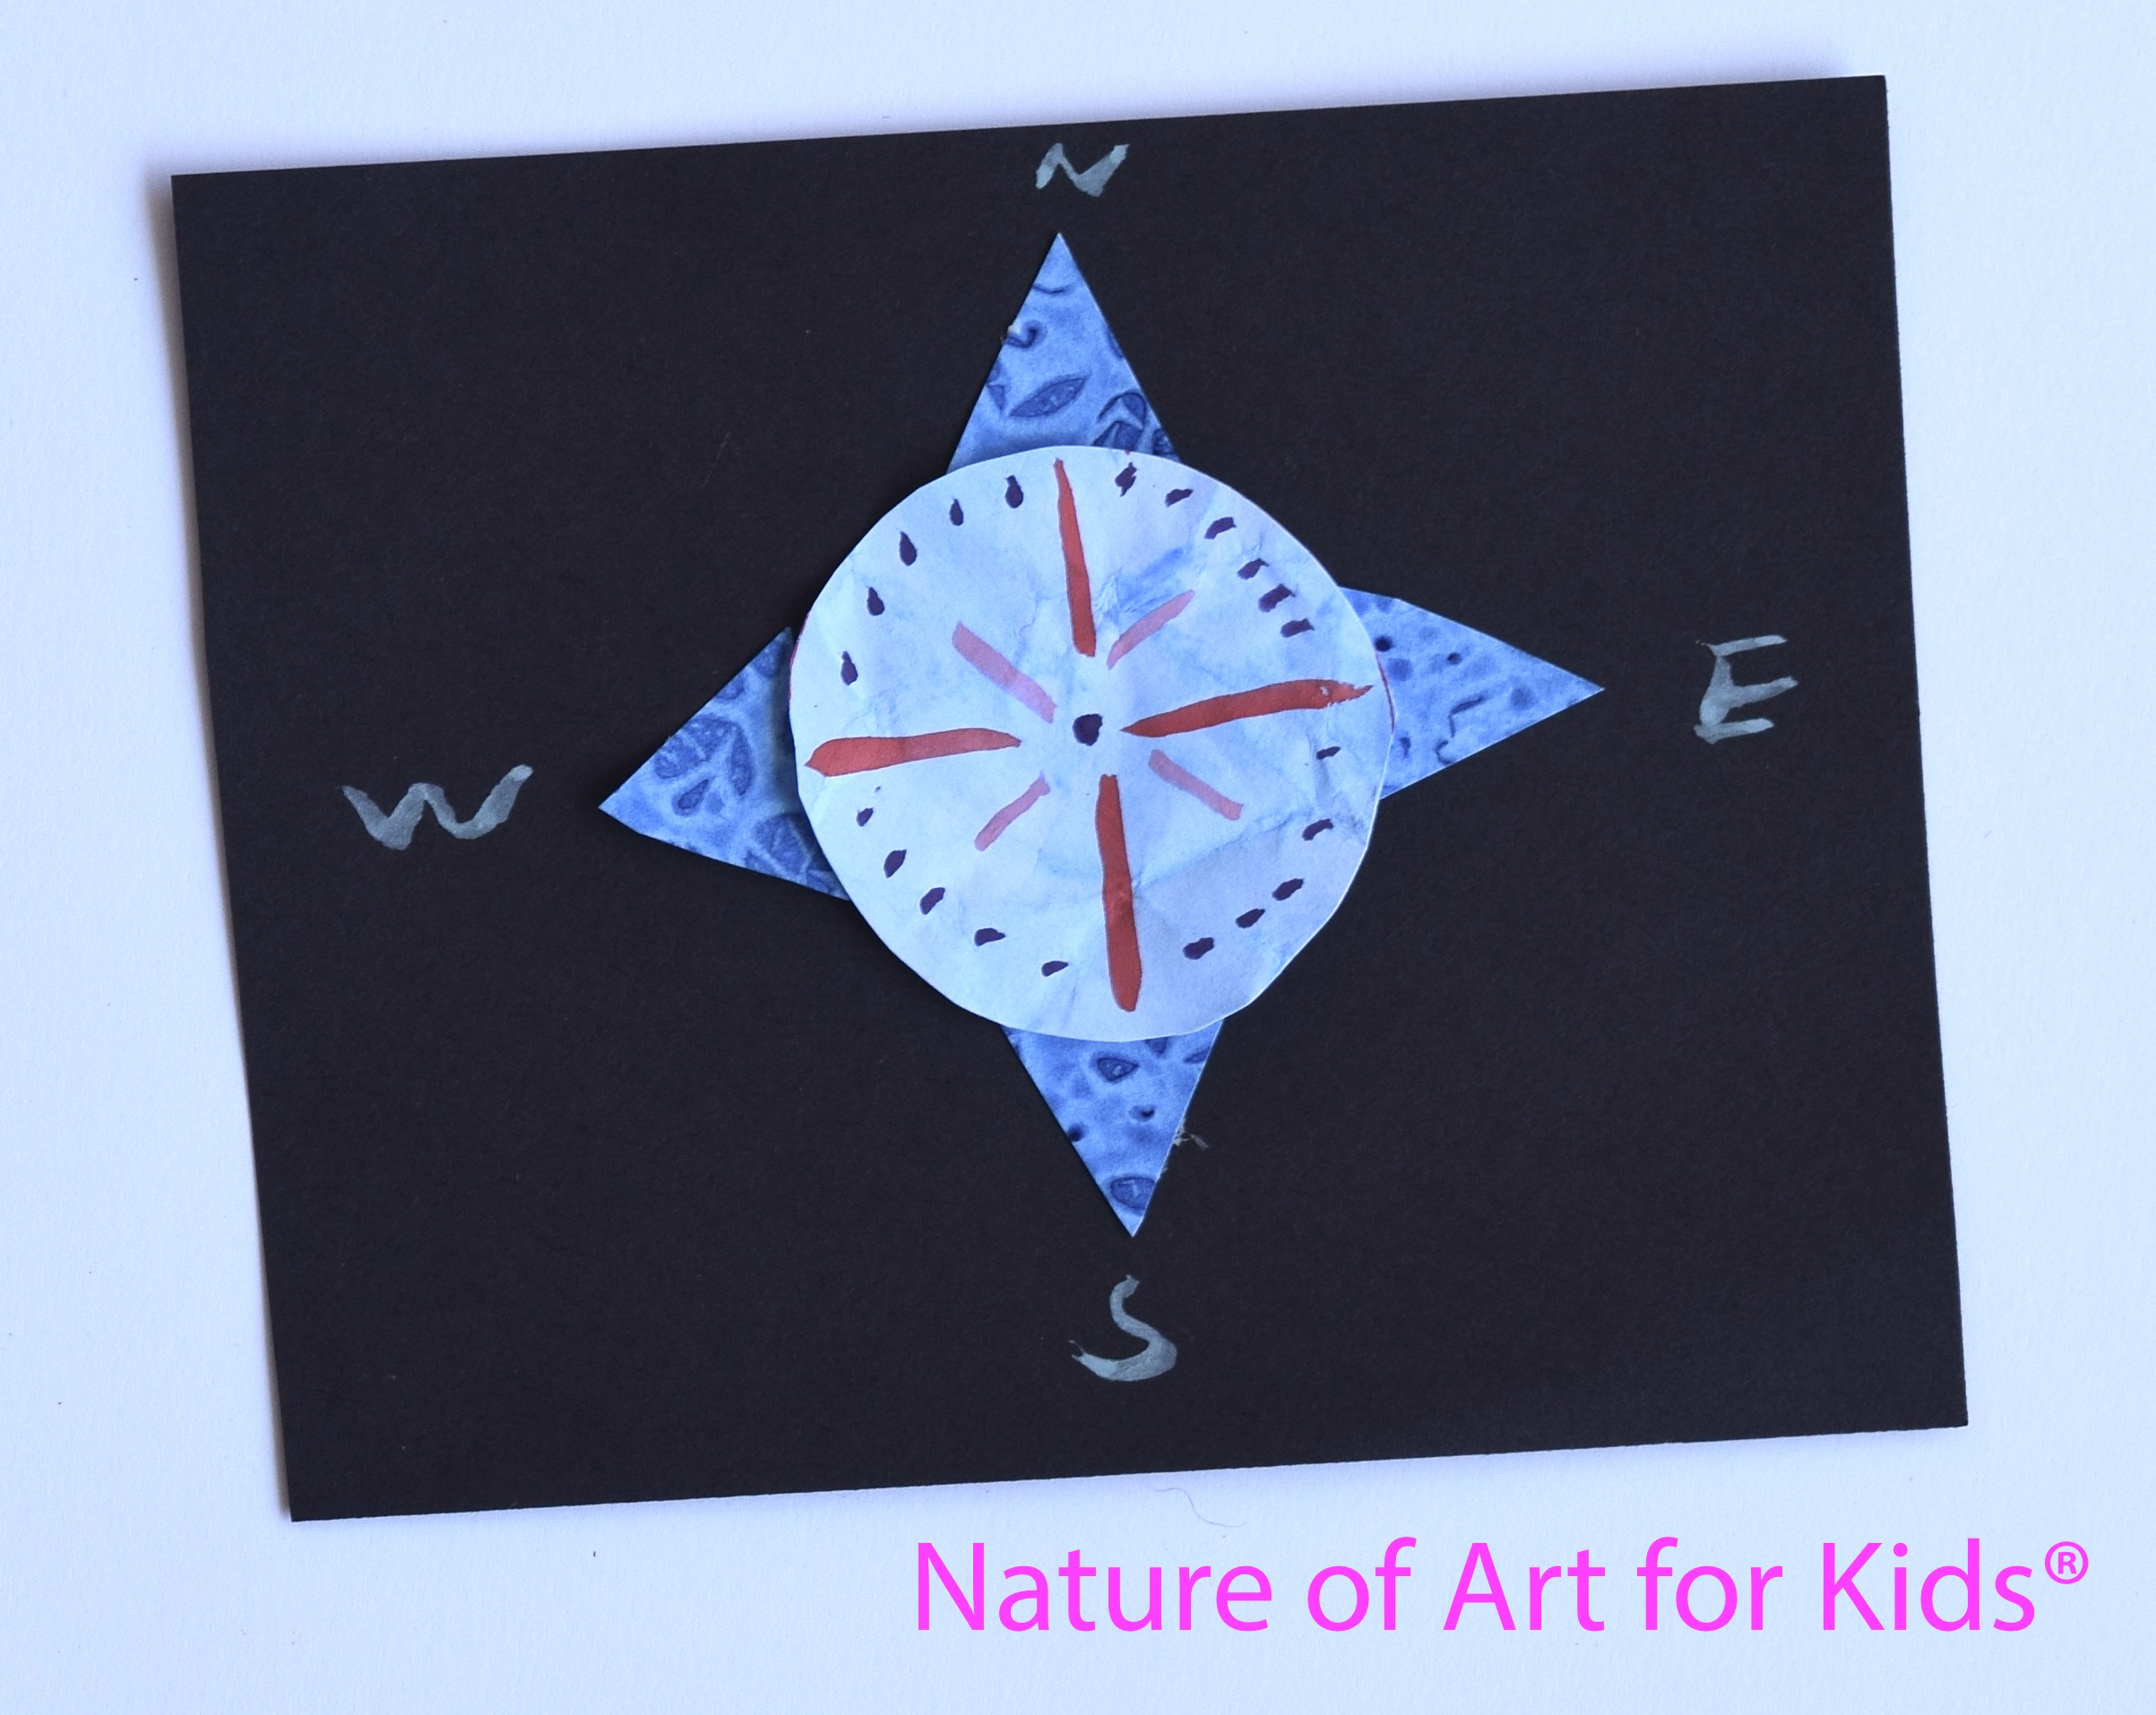
What is a compass rose?
What is a map Legend?
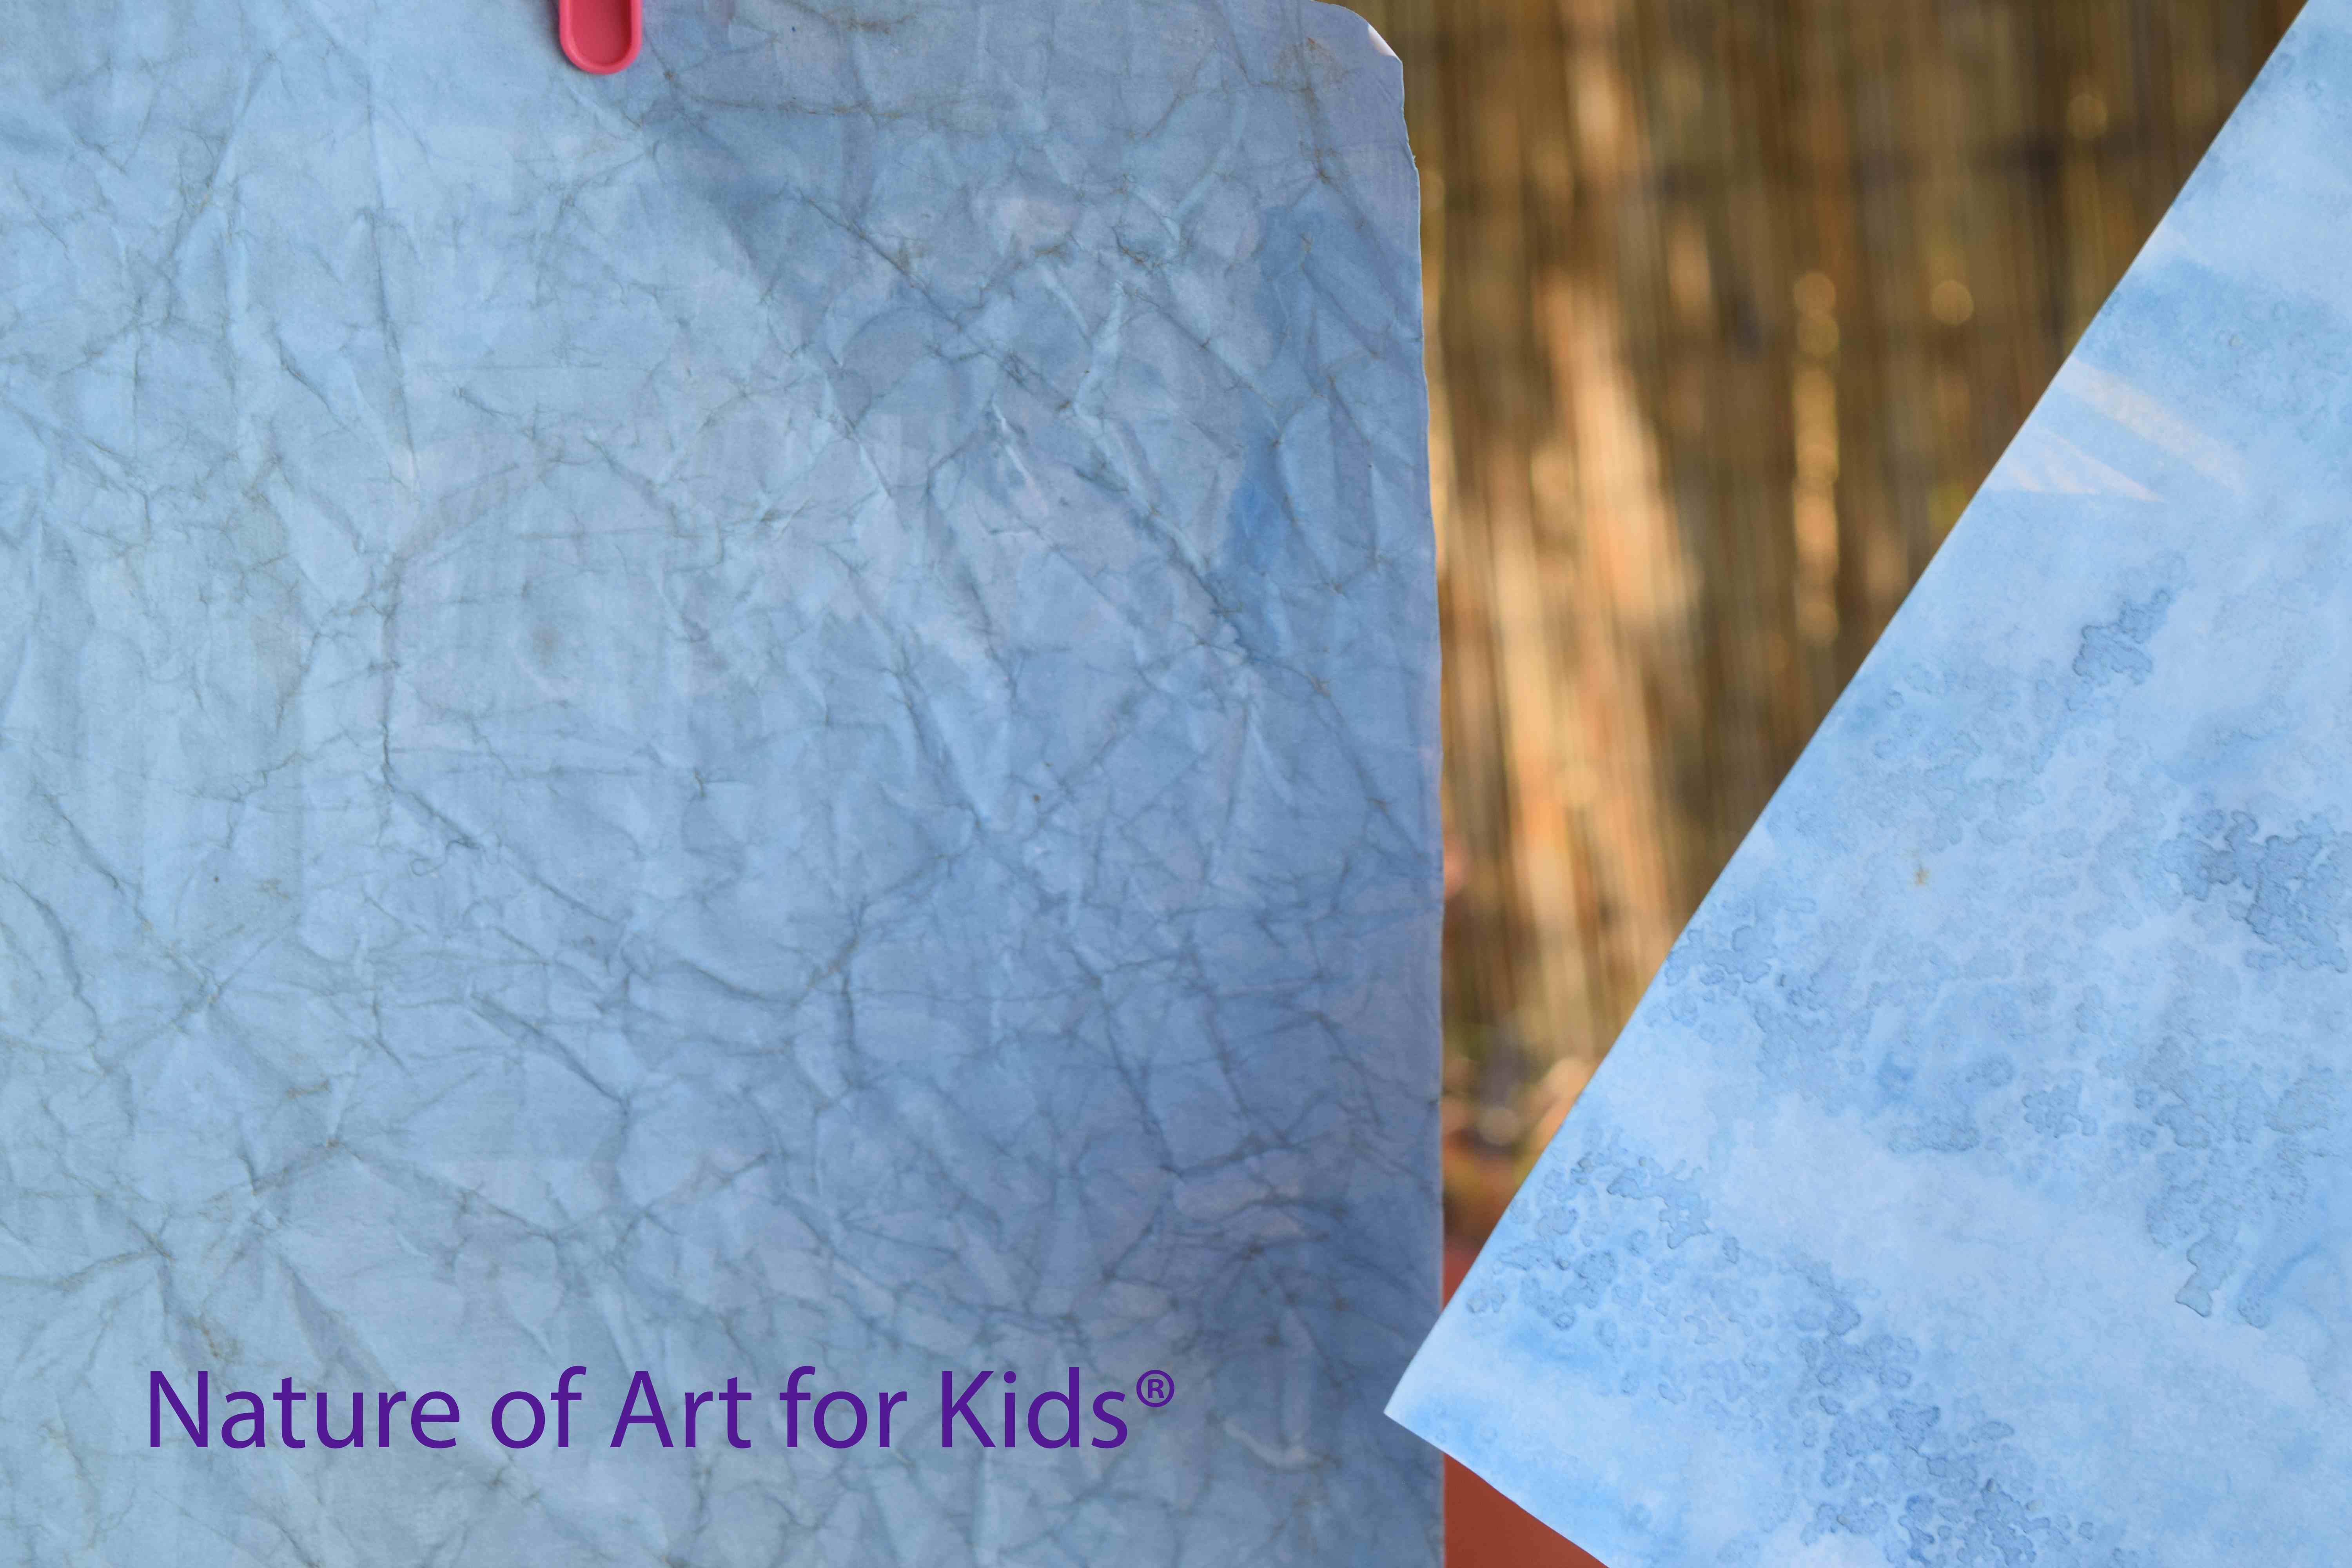
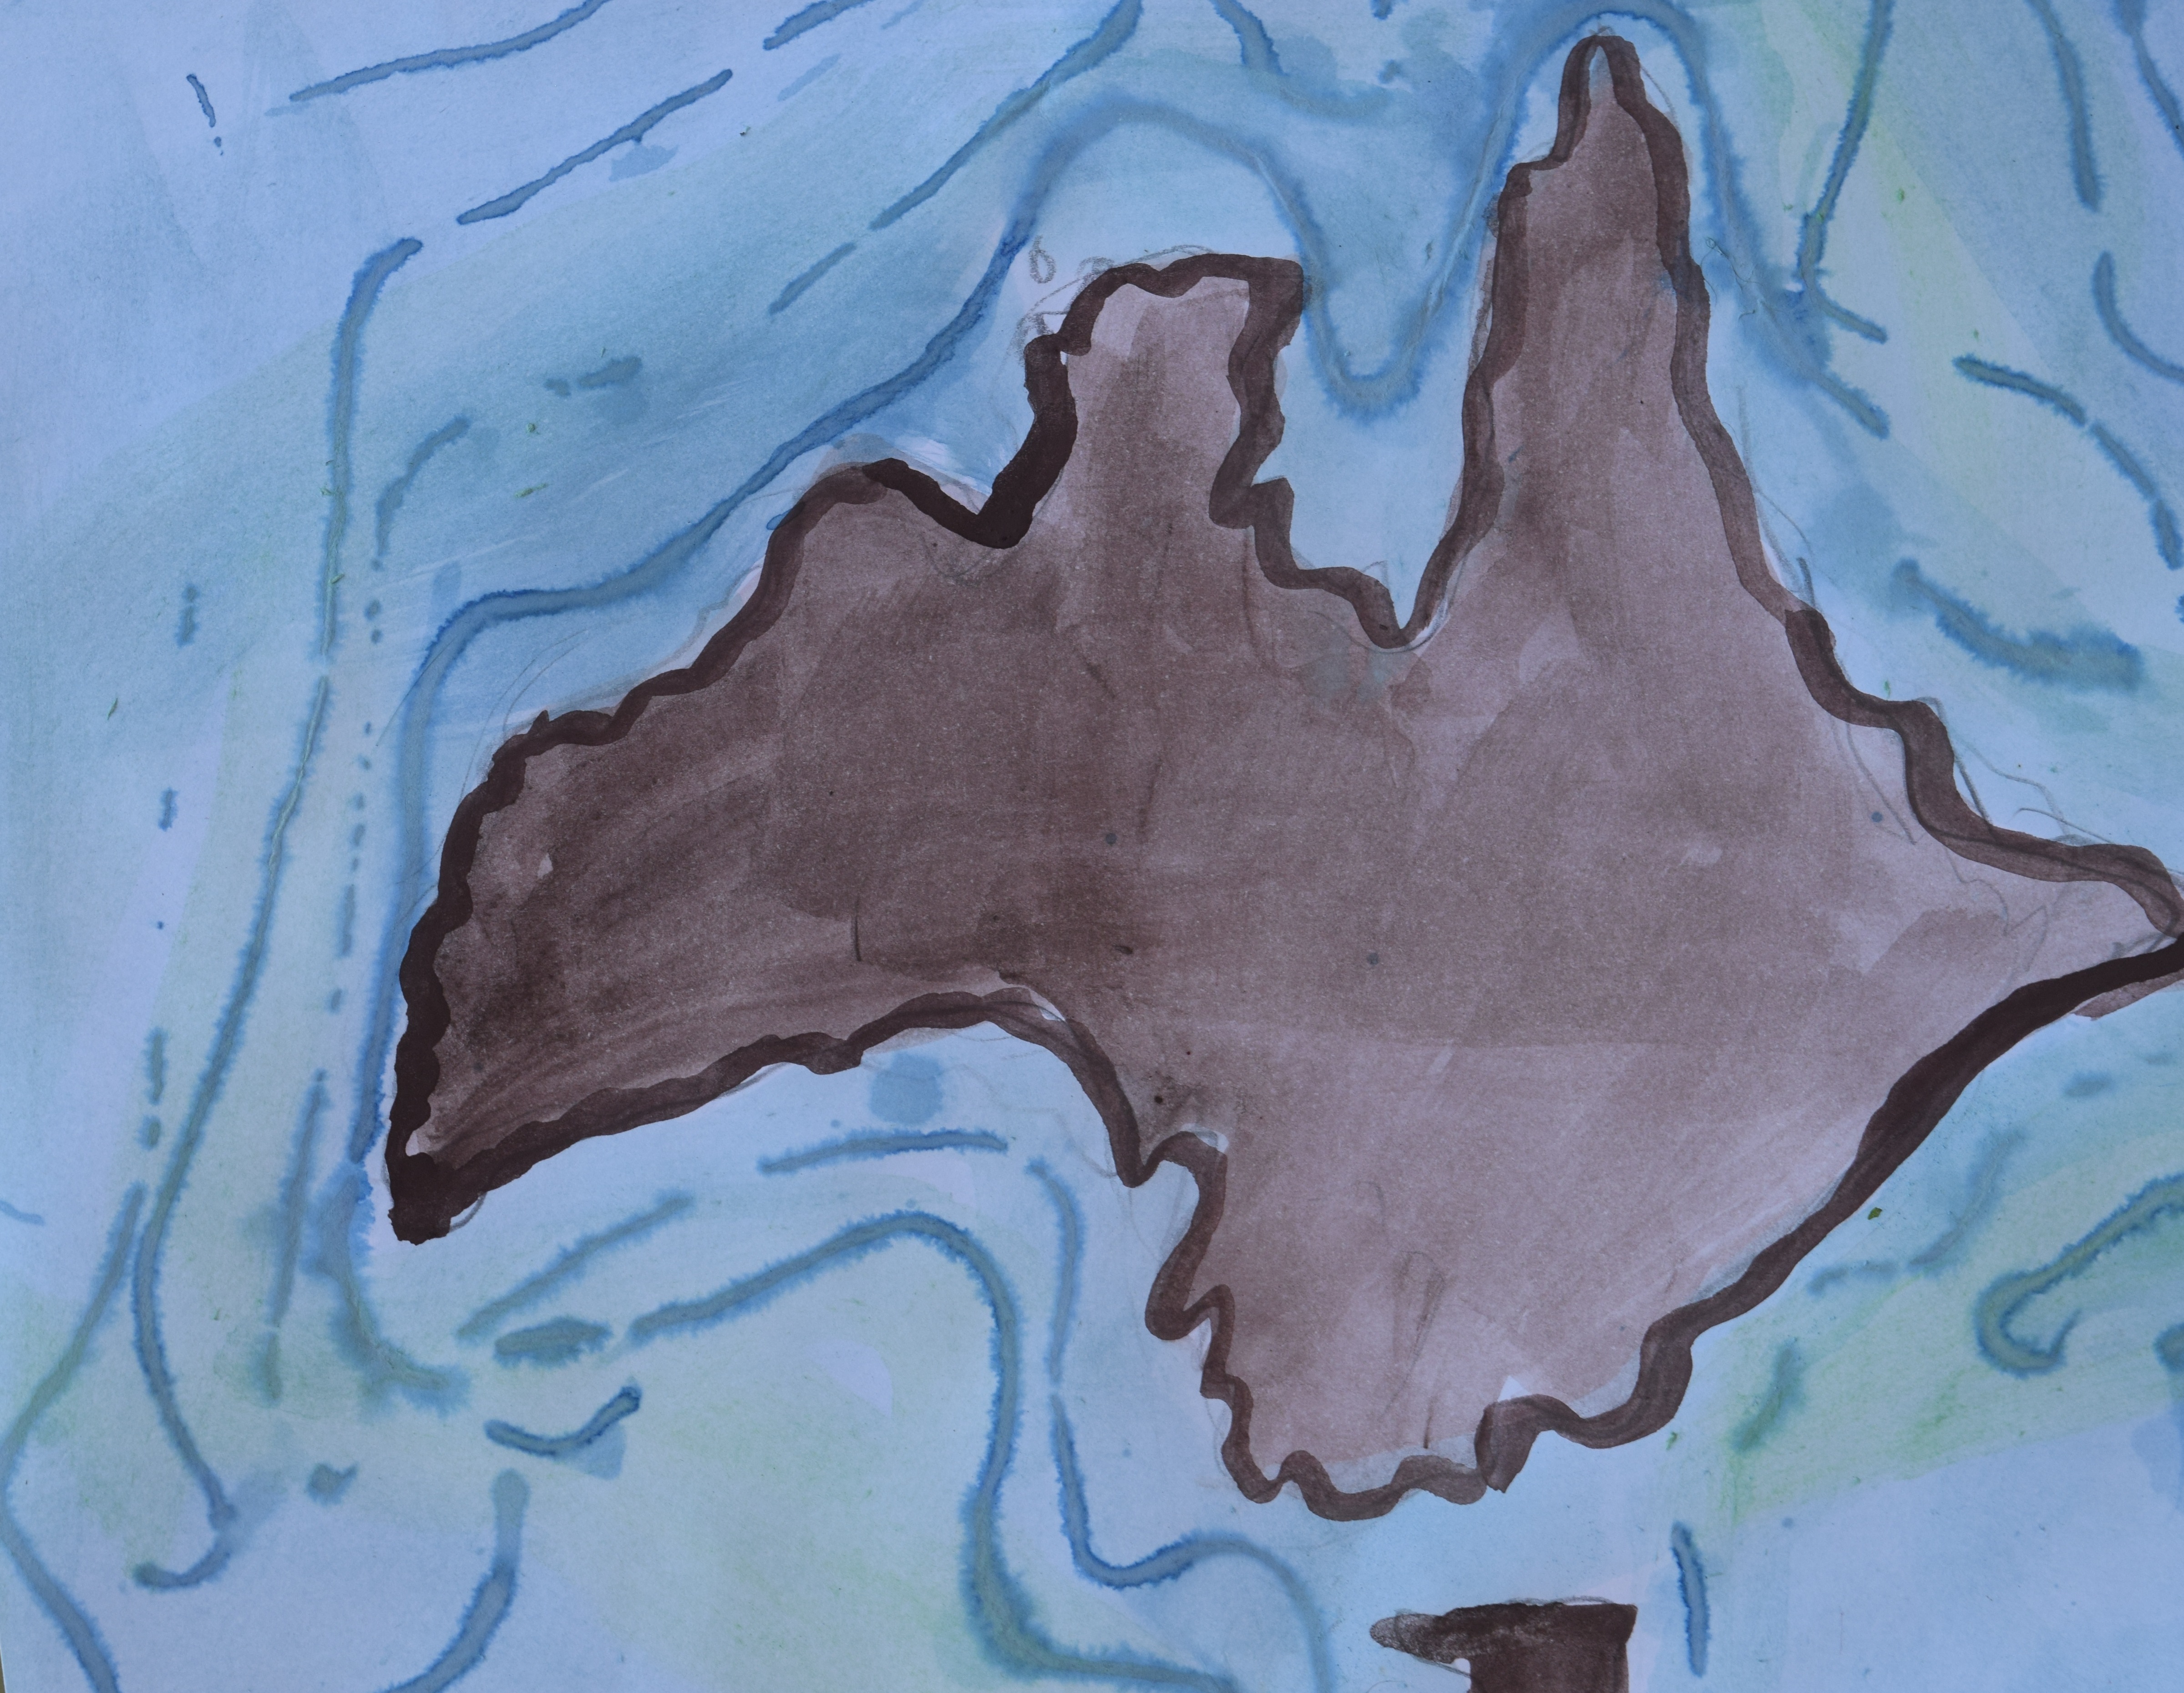
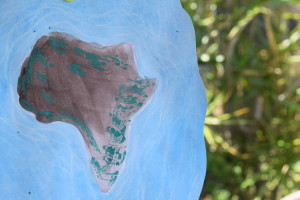
Save all your ocean water textured papers!
Collect and save scraps for future map making projects.
Save every scrap! Collage papers into a compass rose, or bookmarks.
Take kids near water to see the features of water. If you don’t live by a large body of water, check out videos. The Discovery website is great. Look at books and encyclopedias for pictures.
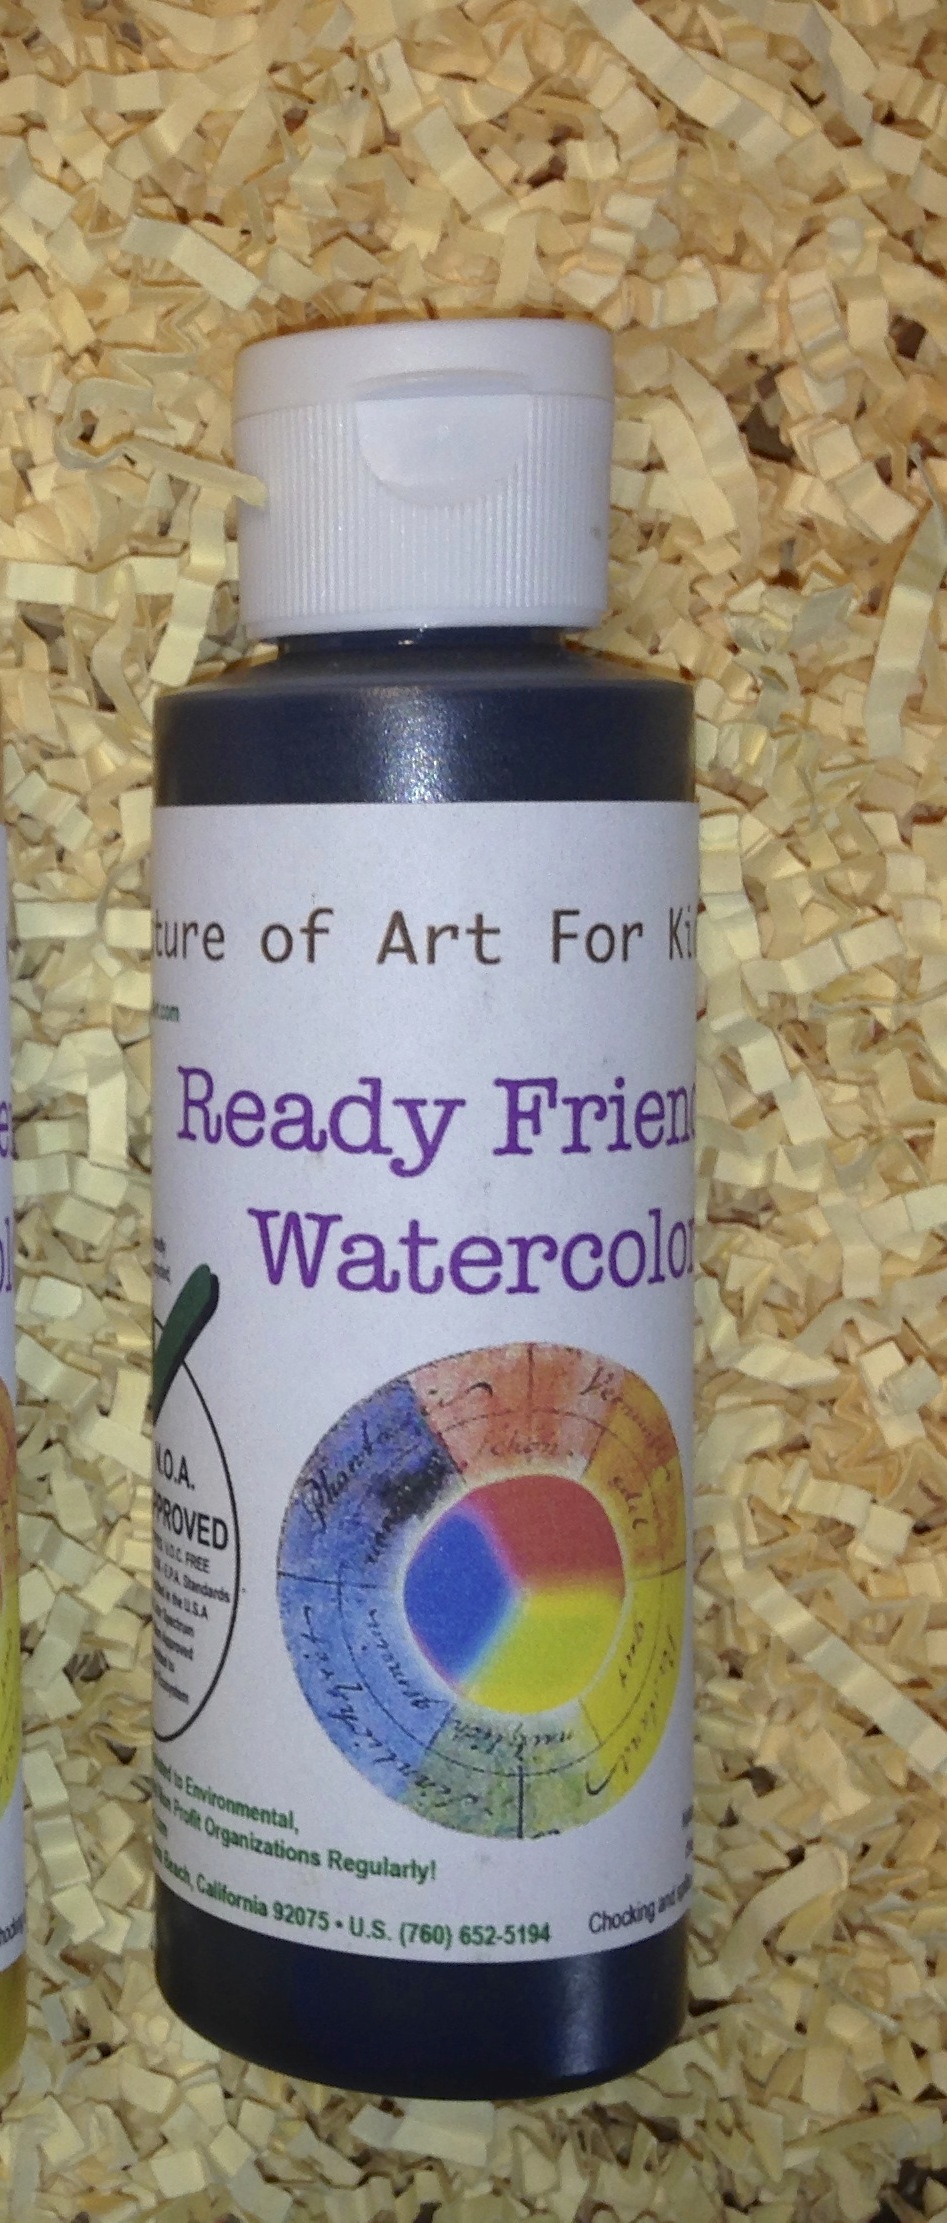
Art Supplies For All 8 Textures:
Paper Surface
Watercolor paper (Standard (9 x 12 pad)
Plain white copy paper 8 1/2 x 11, or 11 x 17
Thicker white printer copy paper 11 x 17 (some thing heavy that does not rip easy when wet, maybe 100 lb book weight)
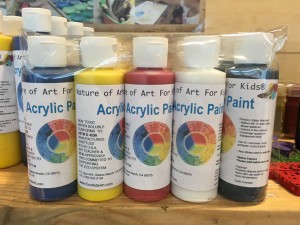
Types of paints to use:

Paintbrushes
- Large (we used our kids three size set of paintbrushes)
- Medium
- Small
- Sponges
Technique Supplies:
- Yarn or String (any color)
- White Basic Wax Crayon
- Spray Bottle
- Color Wheel (you can find one online and print out to show kids)
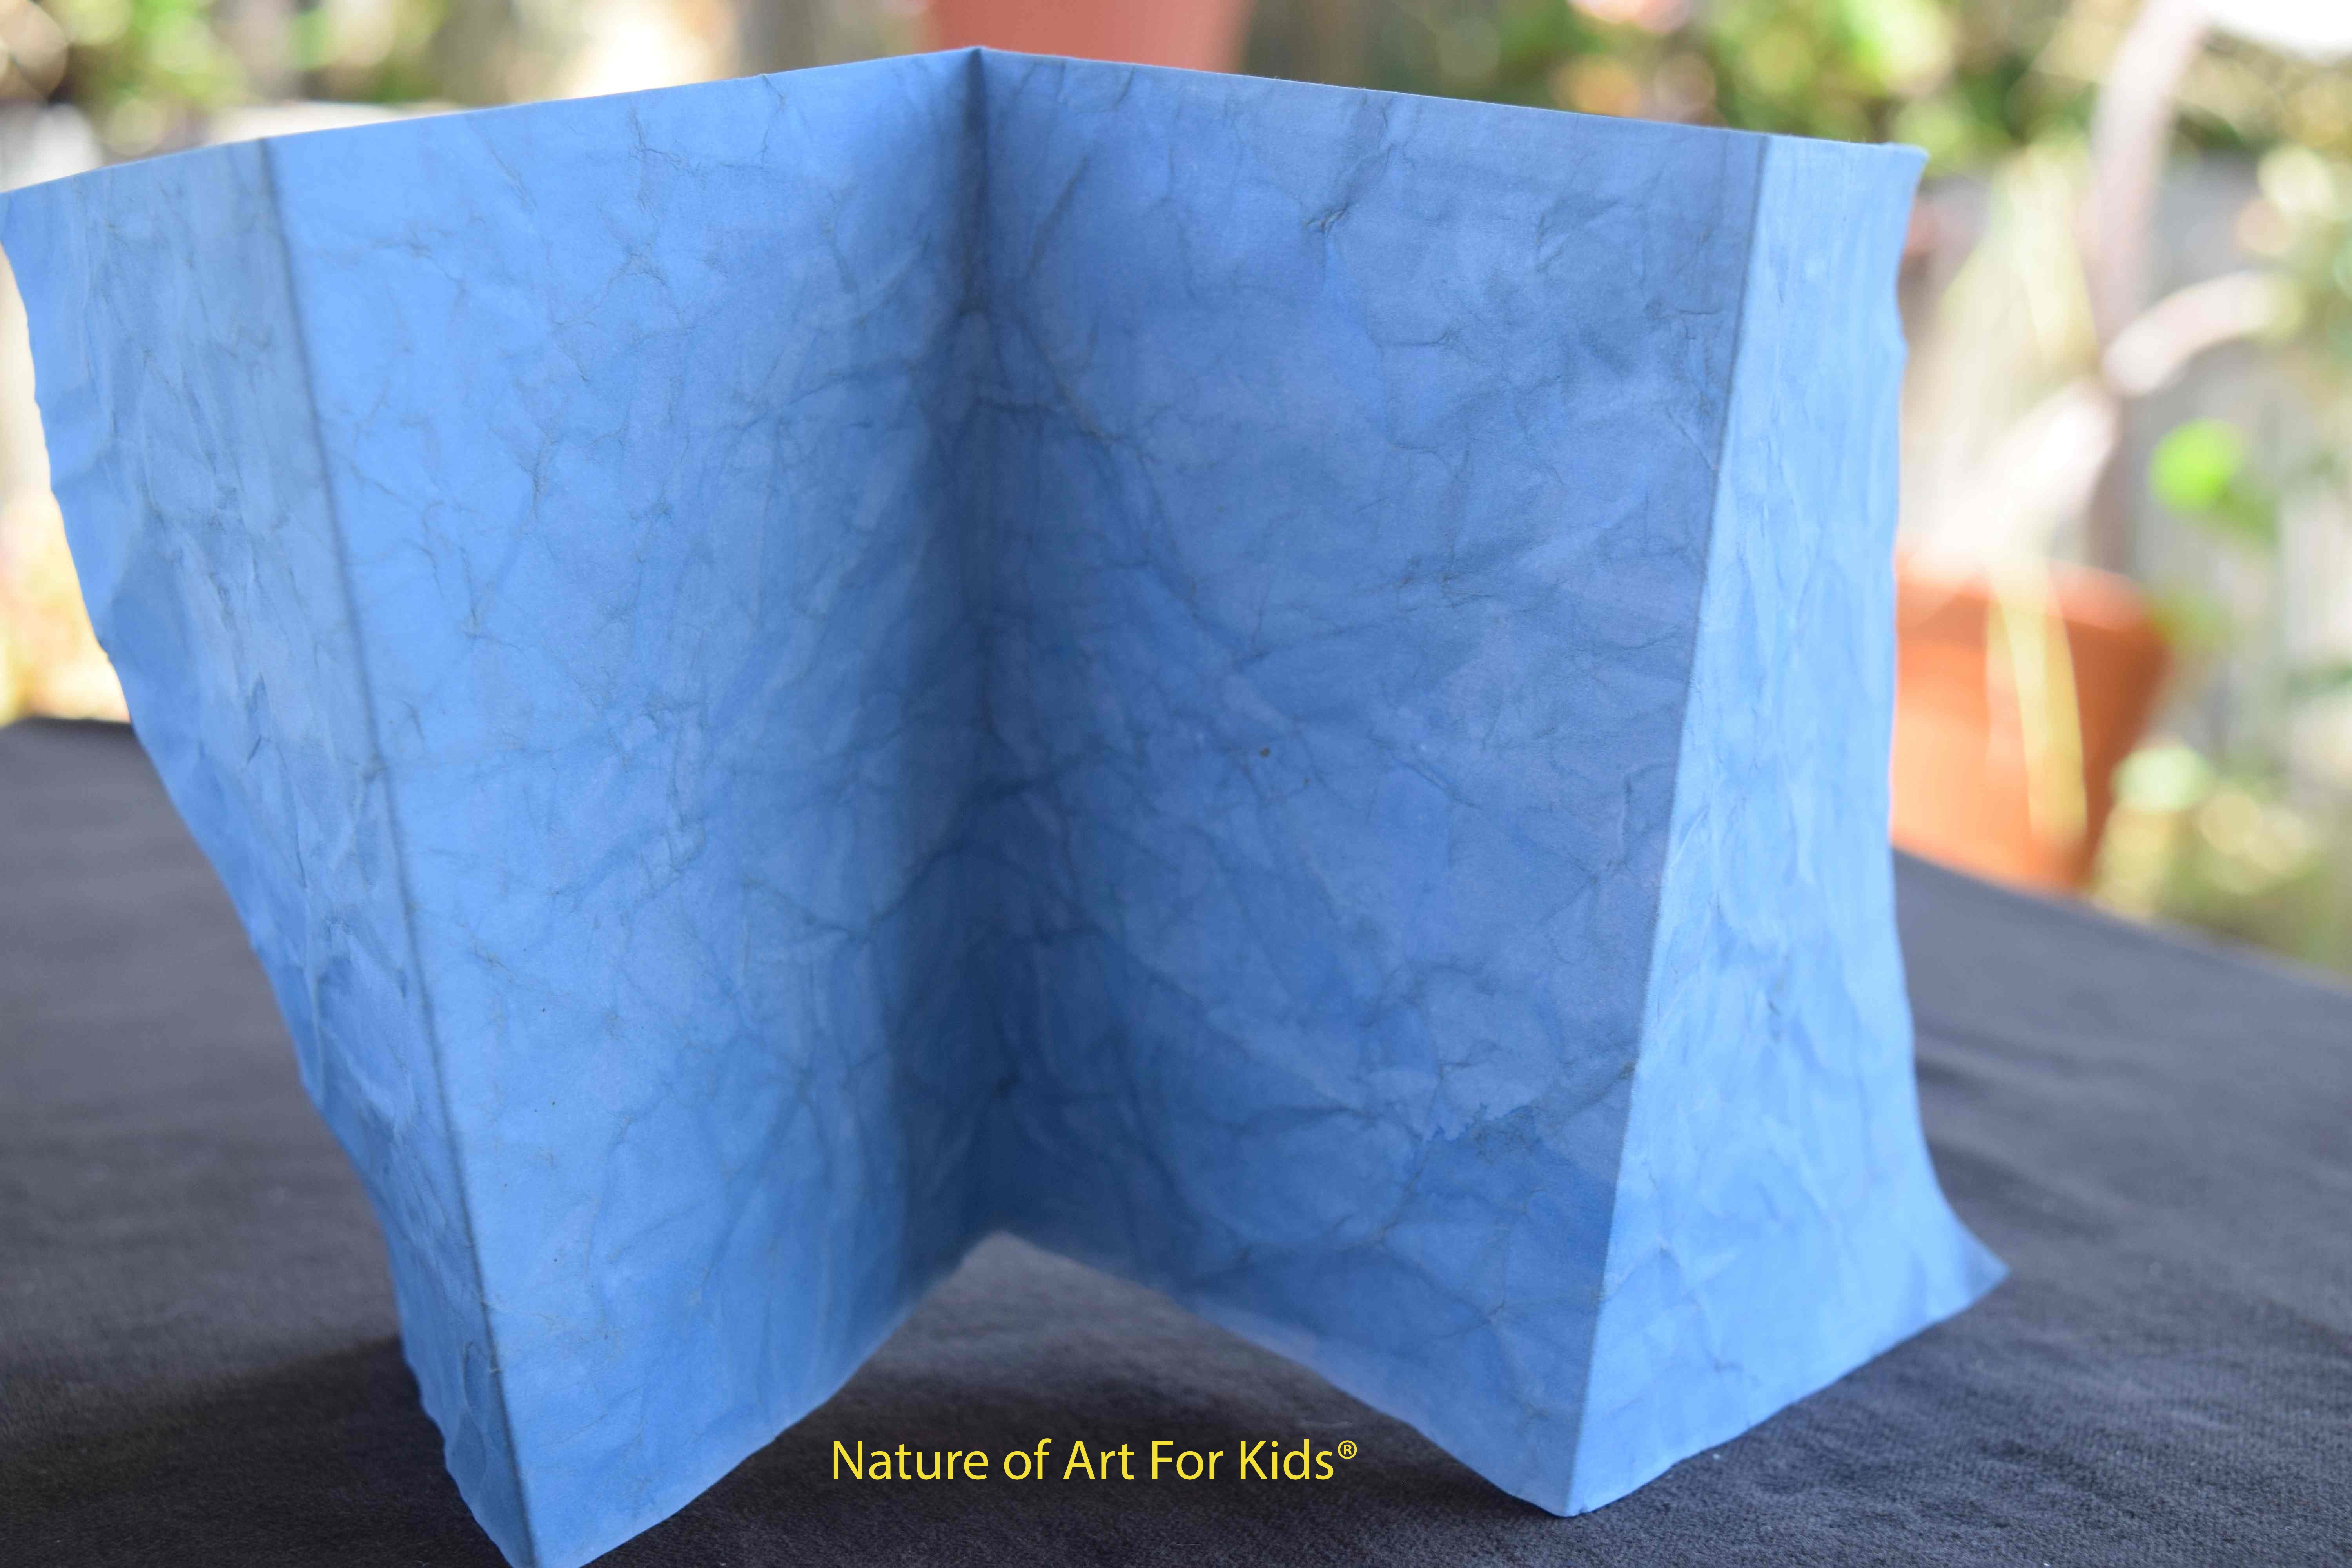
8 OCEAN WATER – TEXTURE TECHNIQUES
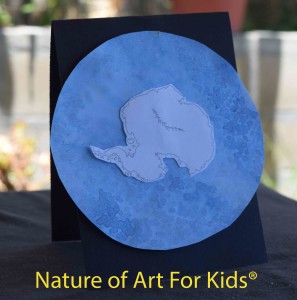
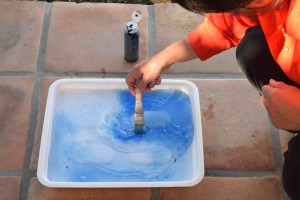
1. SALT ON WET WASH
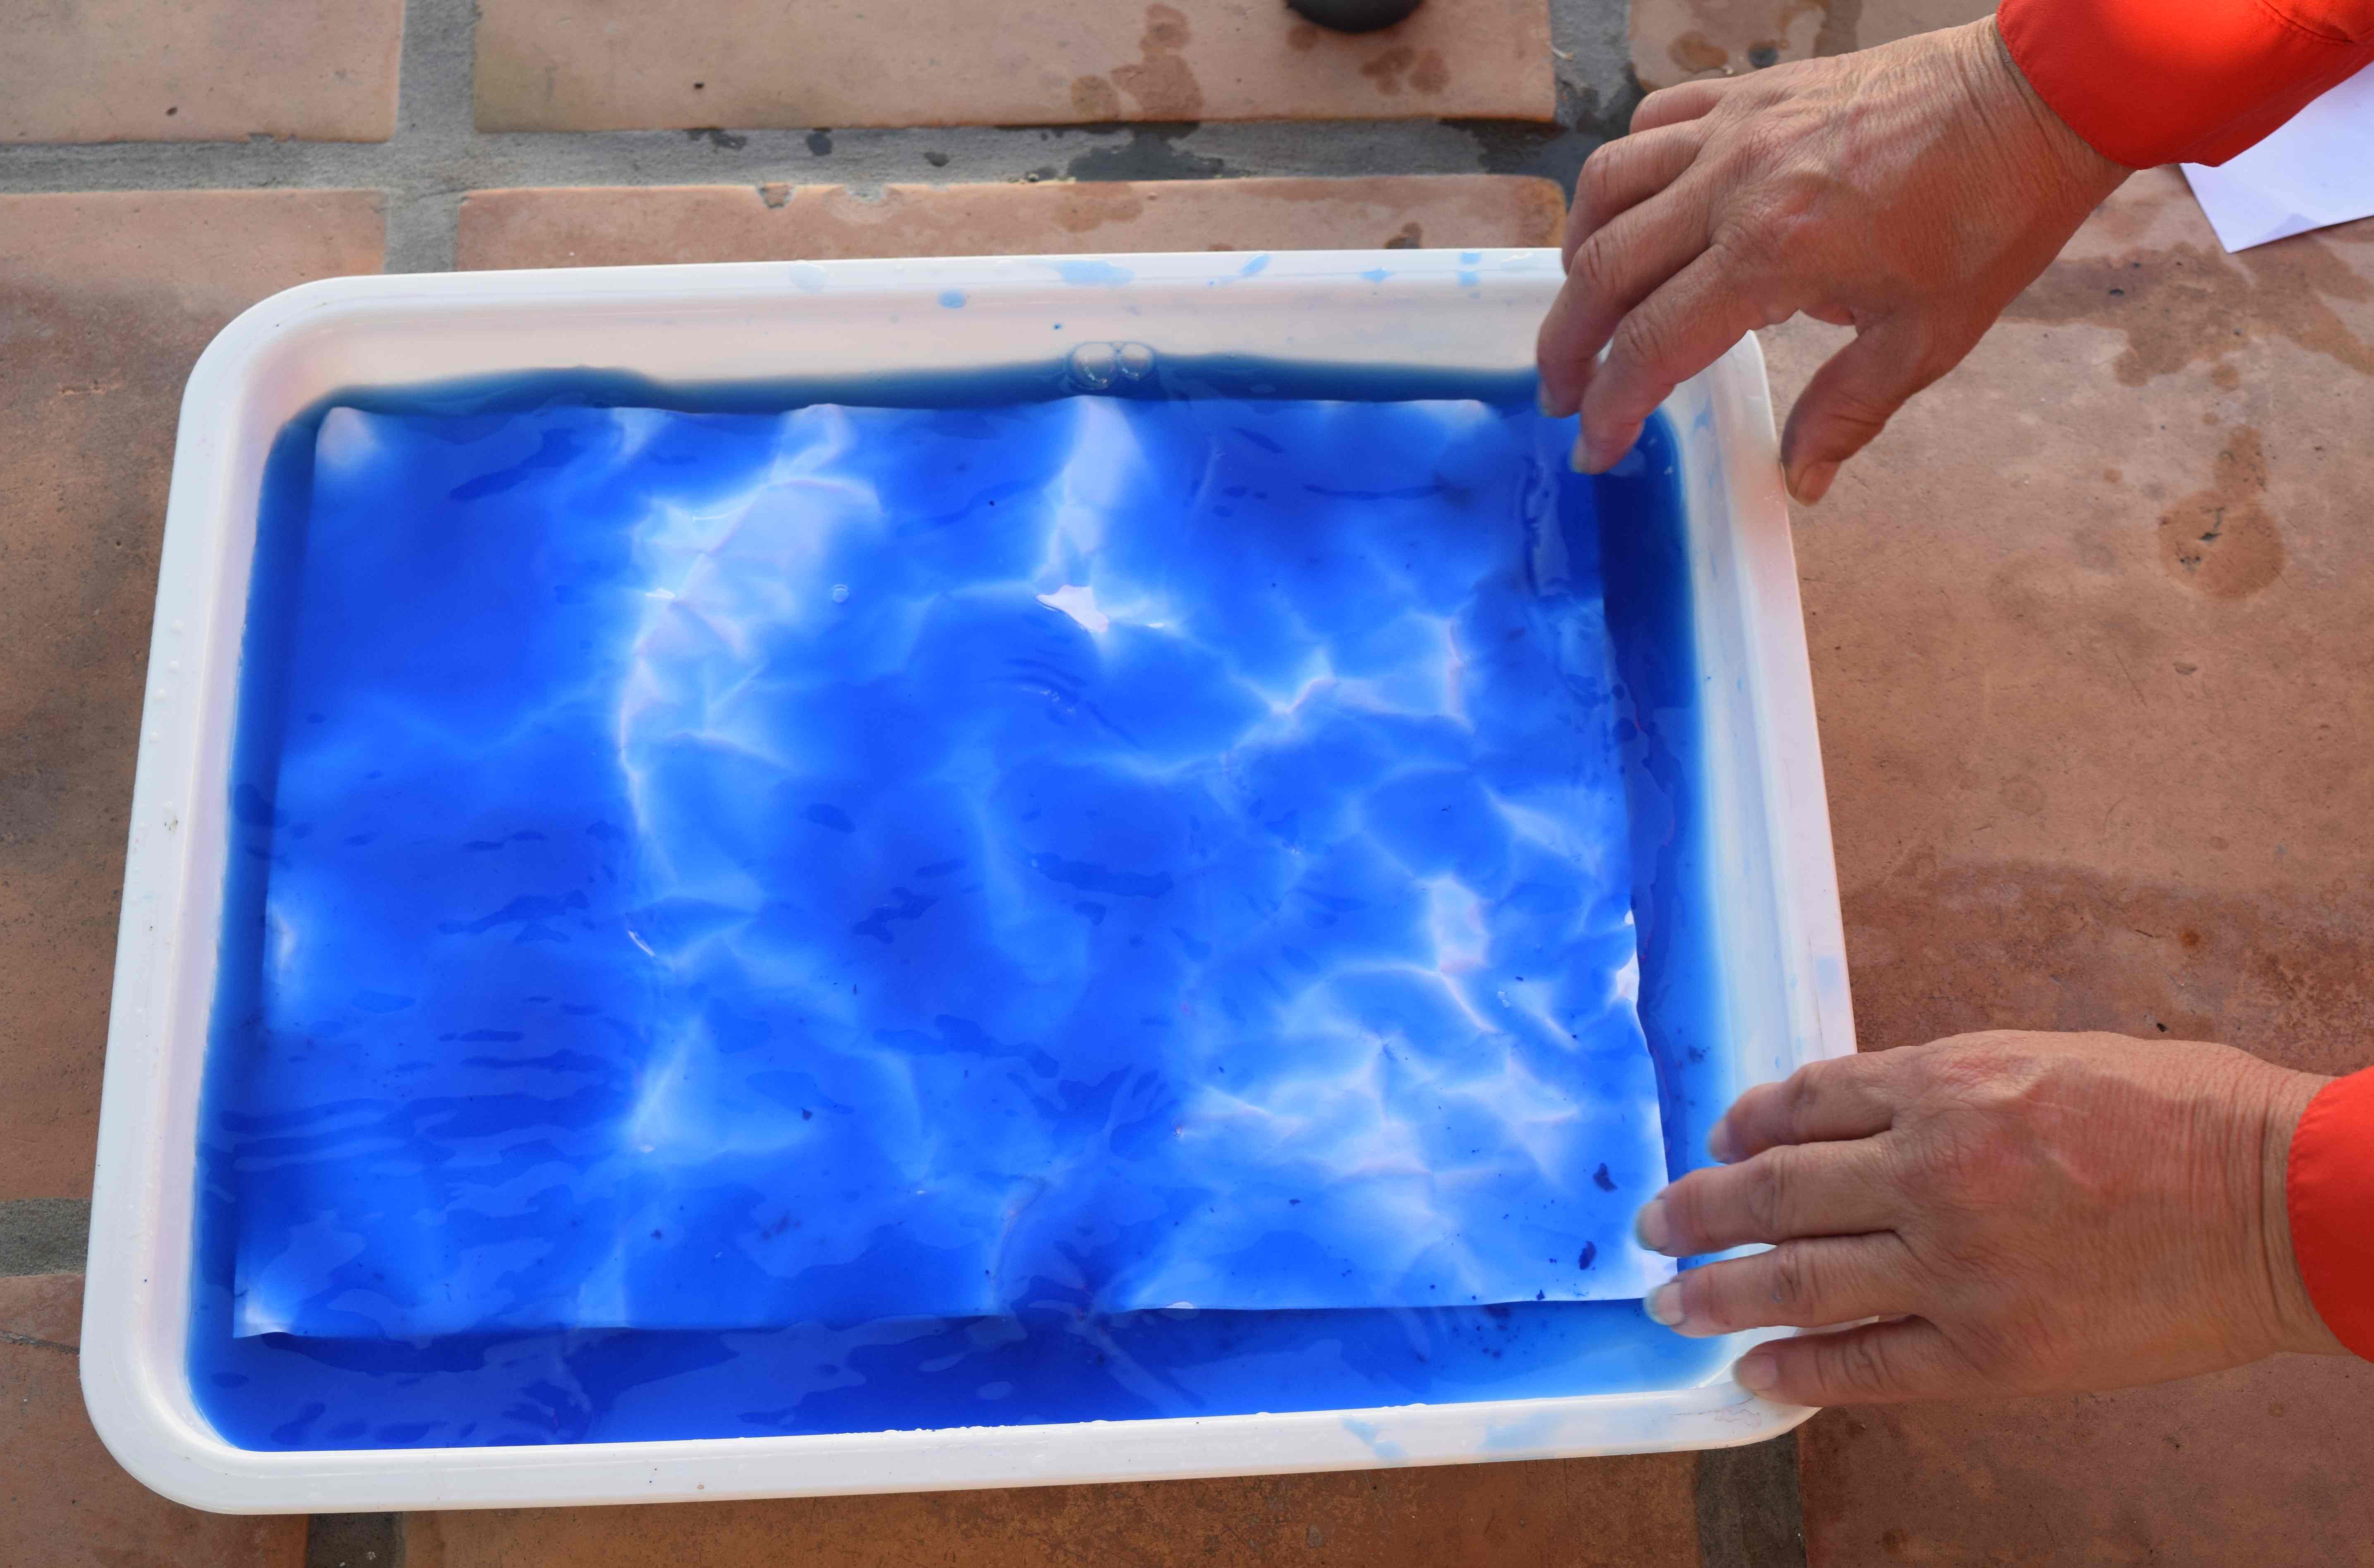
Sprinkle salt on top of a wet wash paint, the salt will start to gather the watercolor pigments. This effect will be different with different grains of salt. With a spray bottle, gently spray water over salt. You will see the texture change and move around. Its fun! Leave to dry completely, then brush off the salt from paper. You might have to scrub hard to get every grain off.


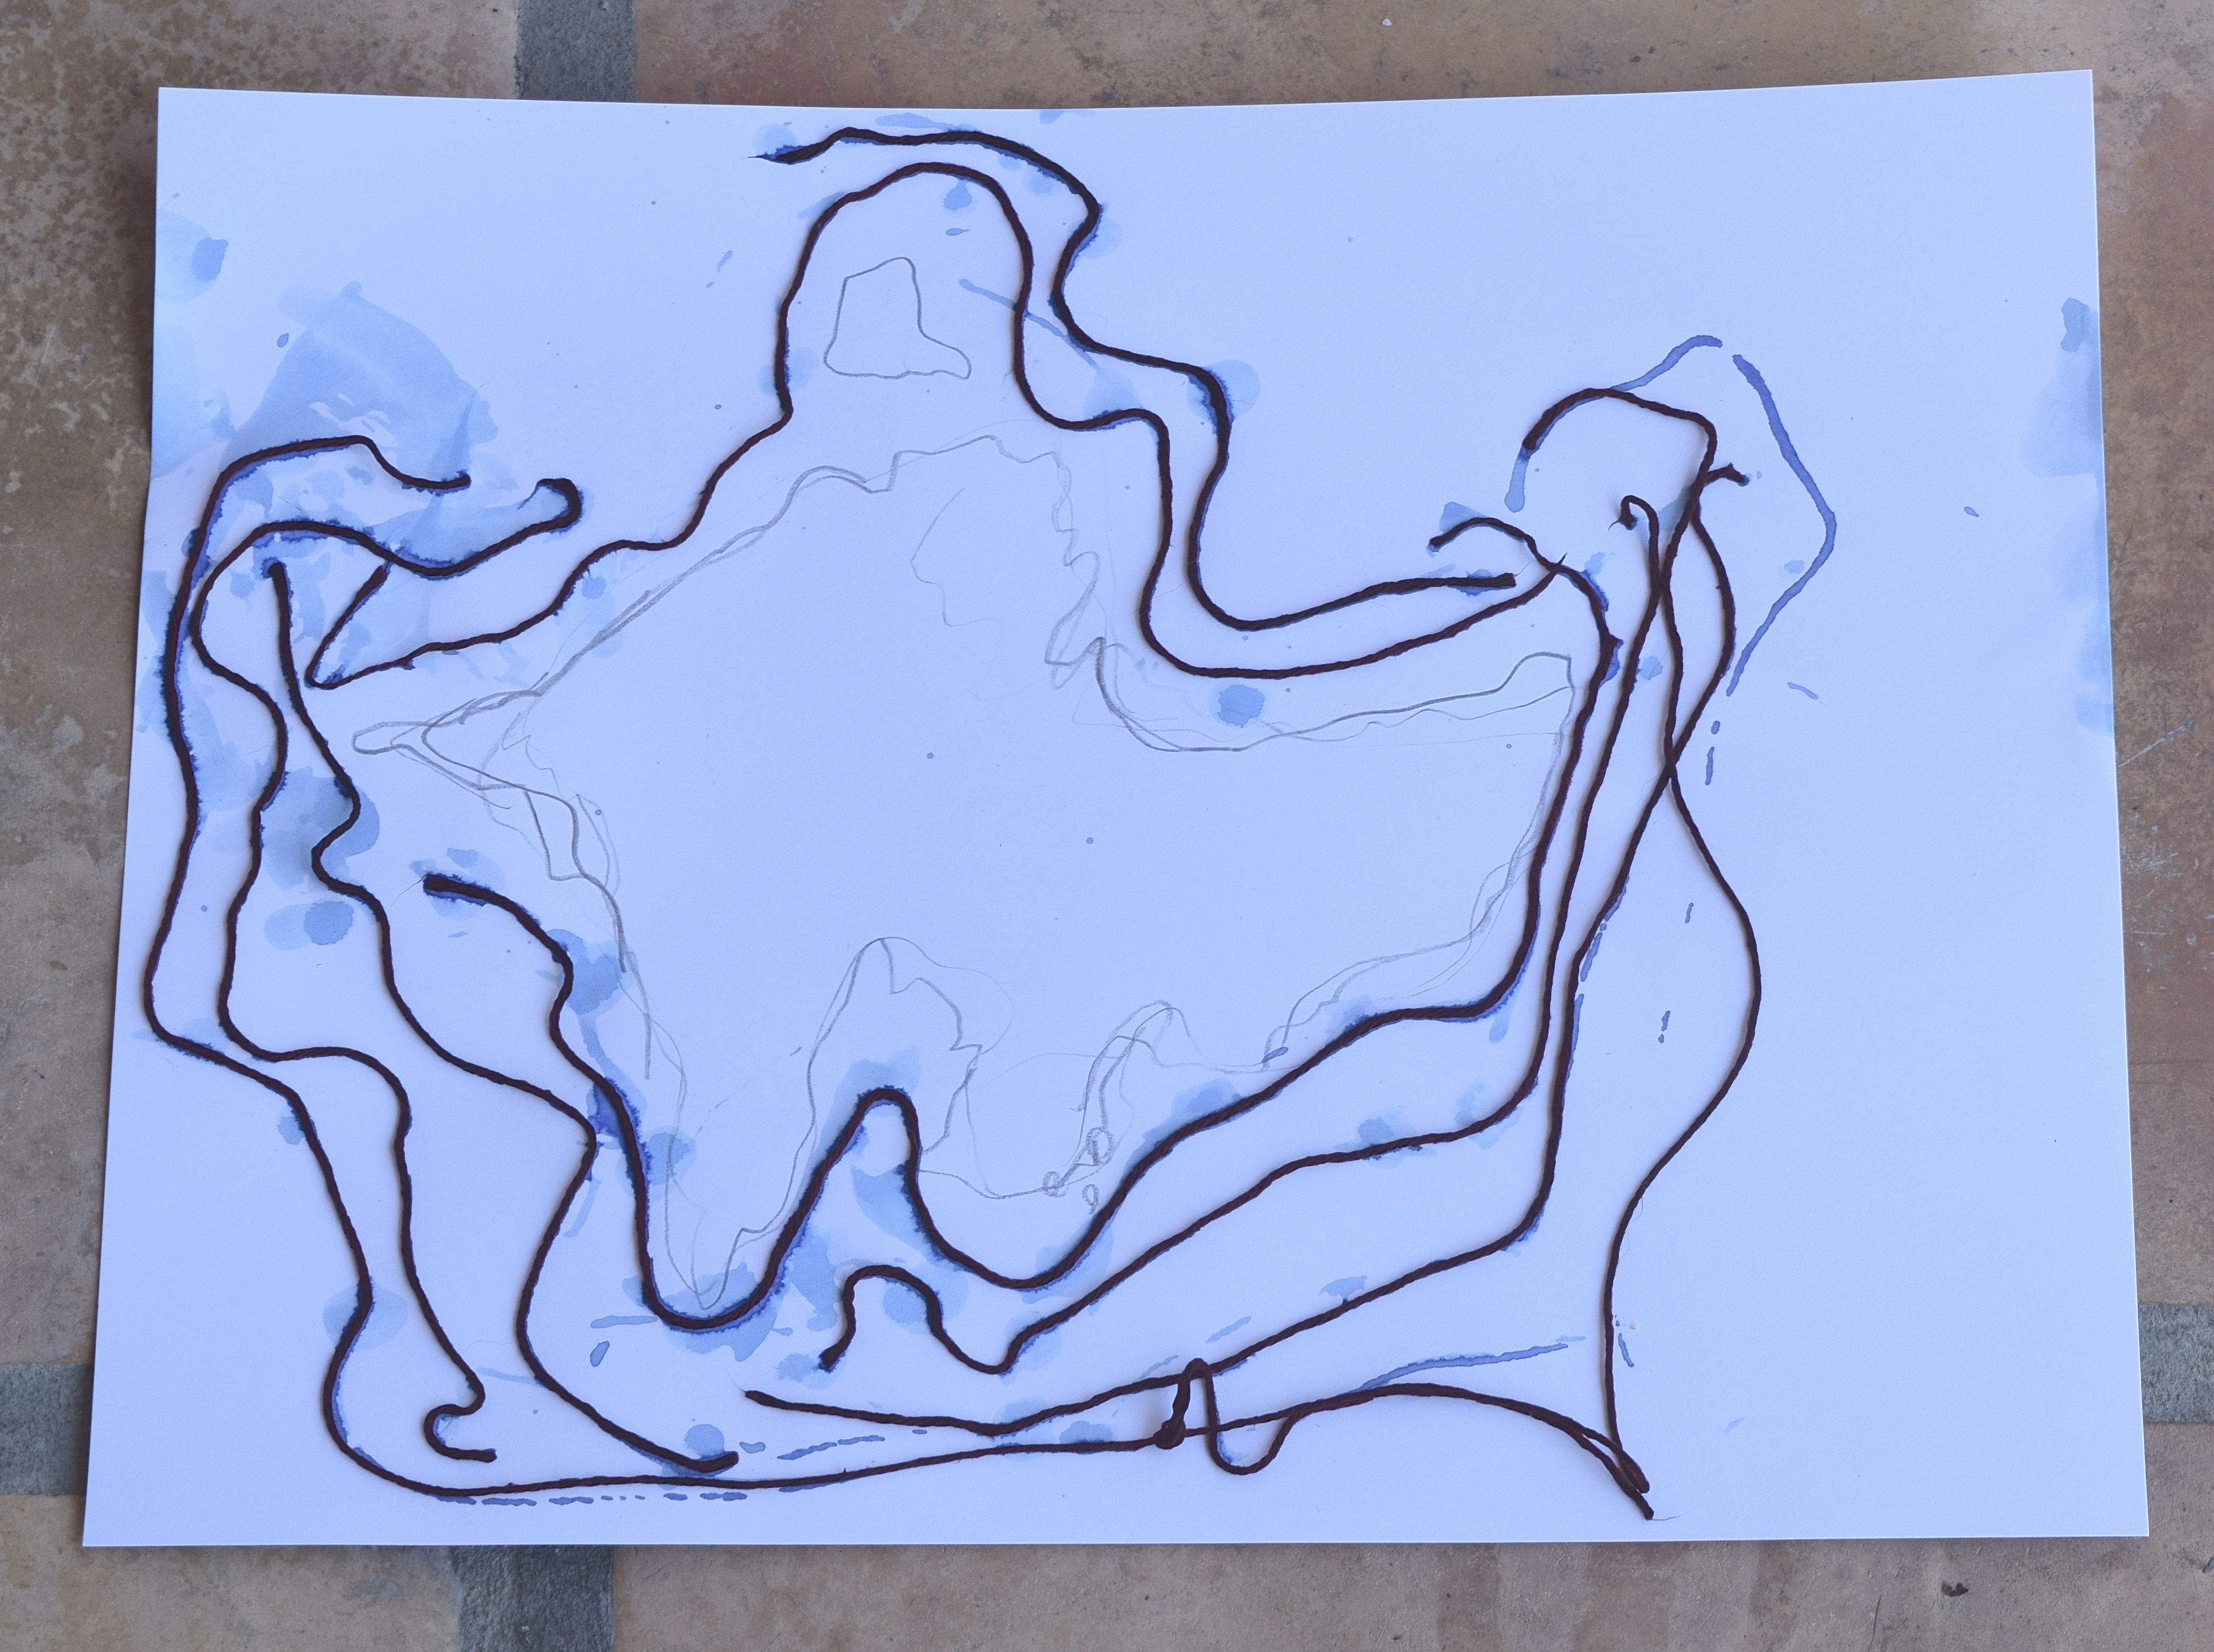
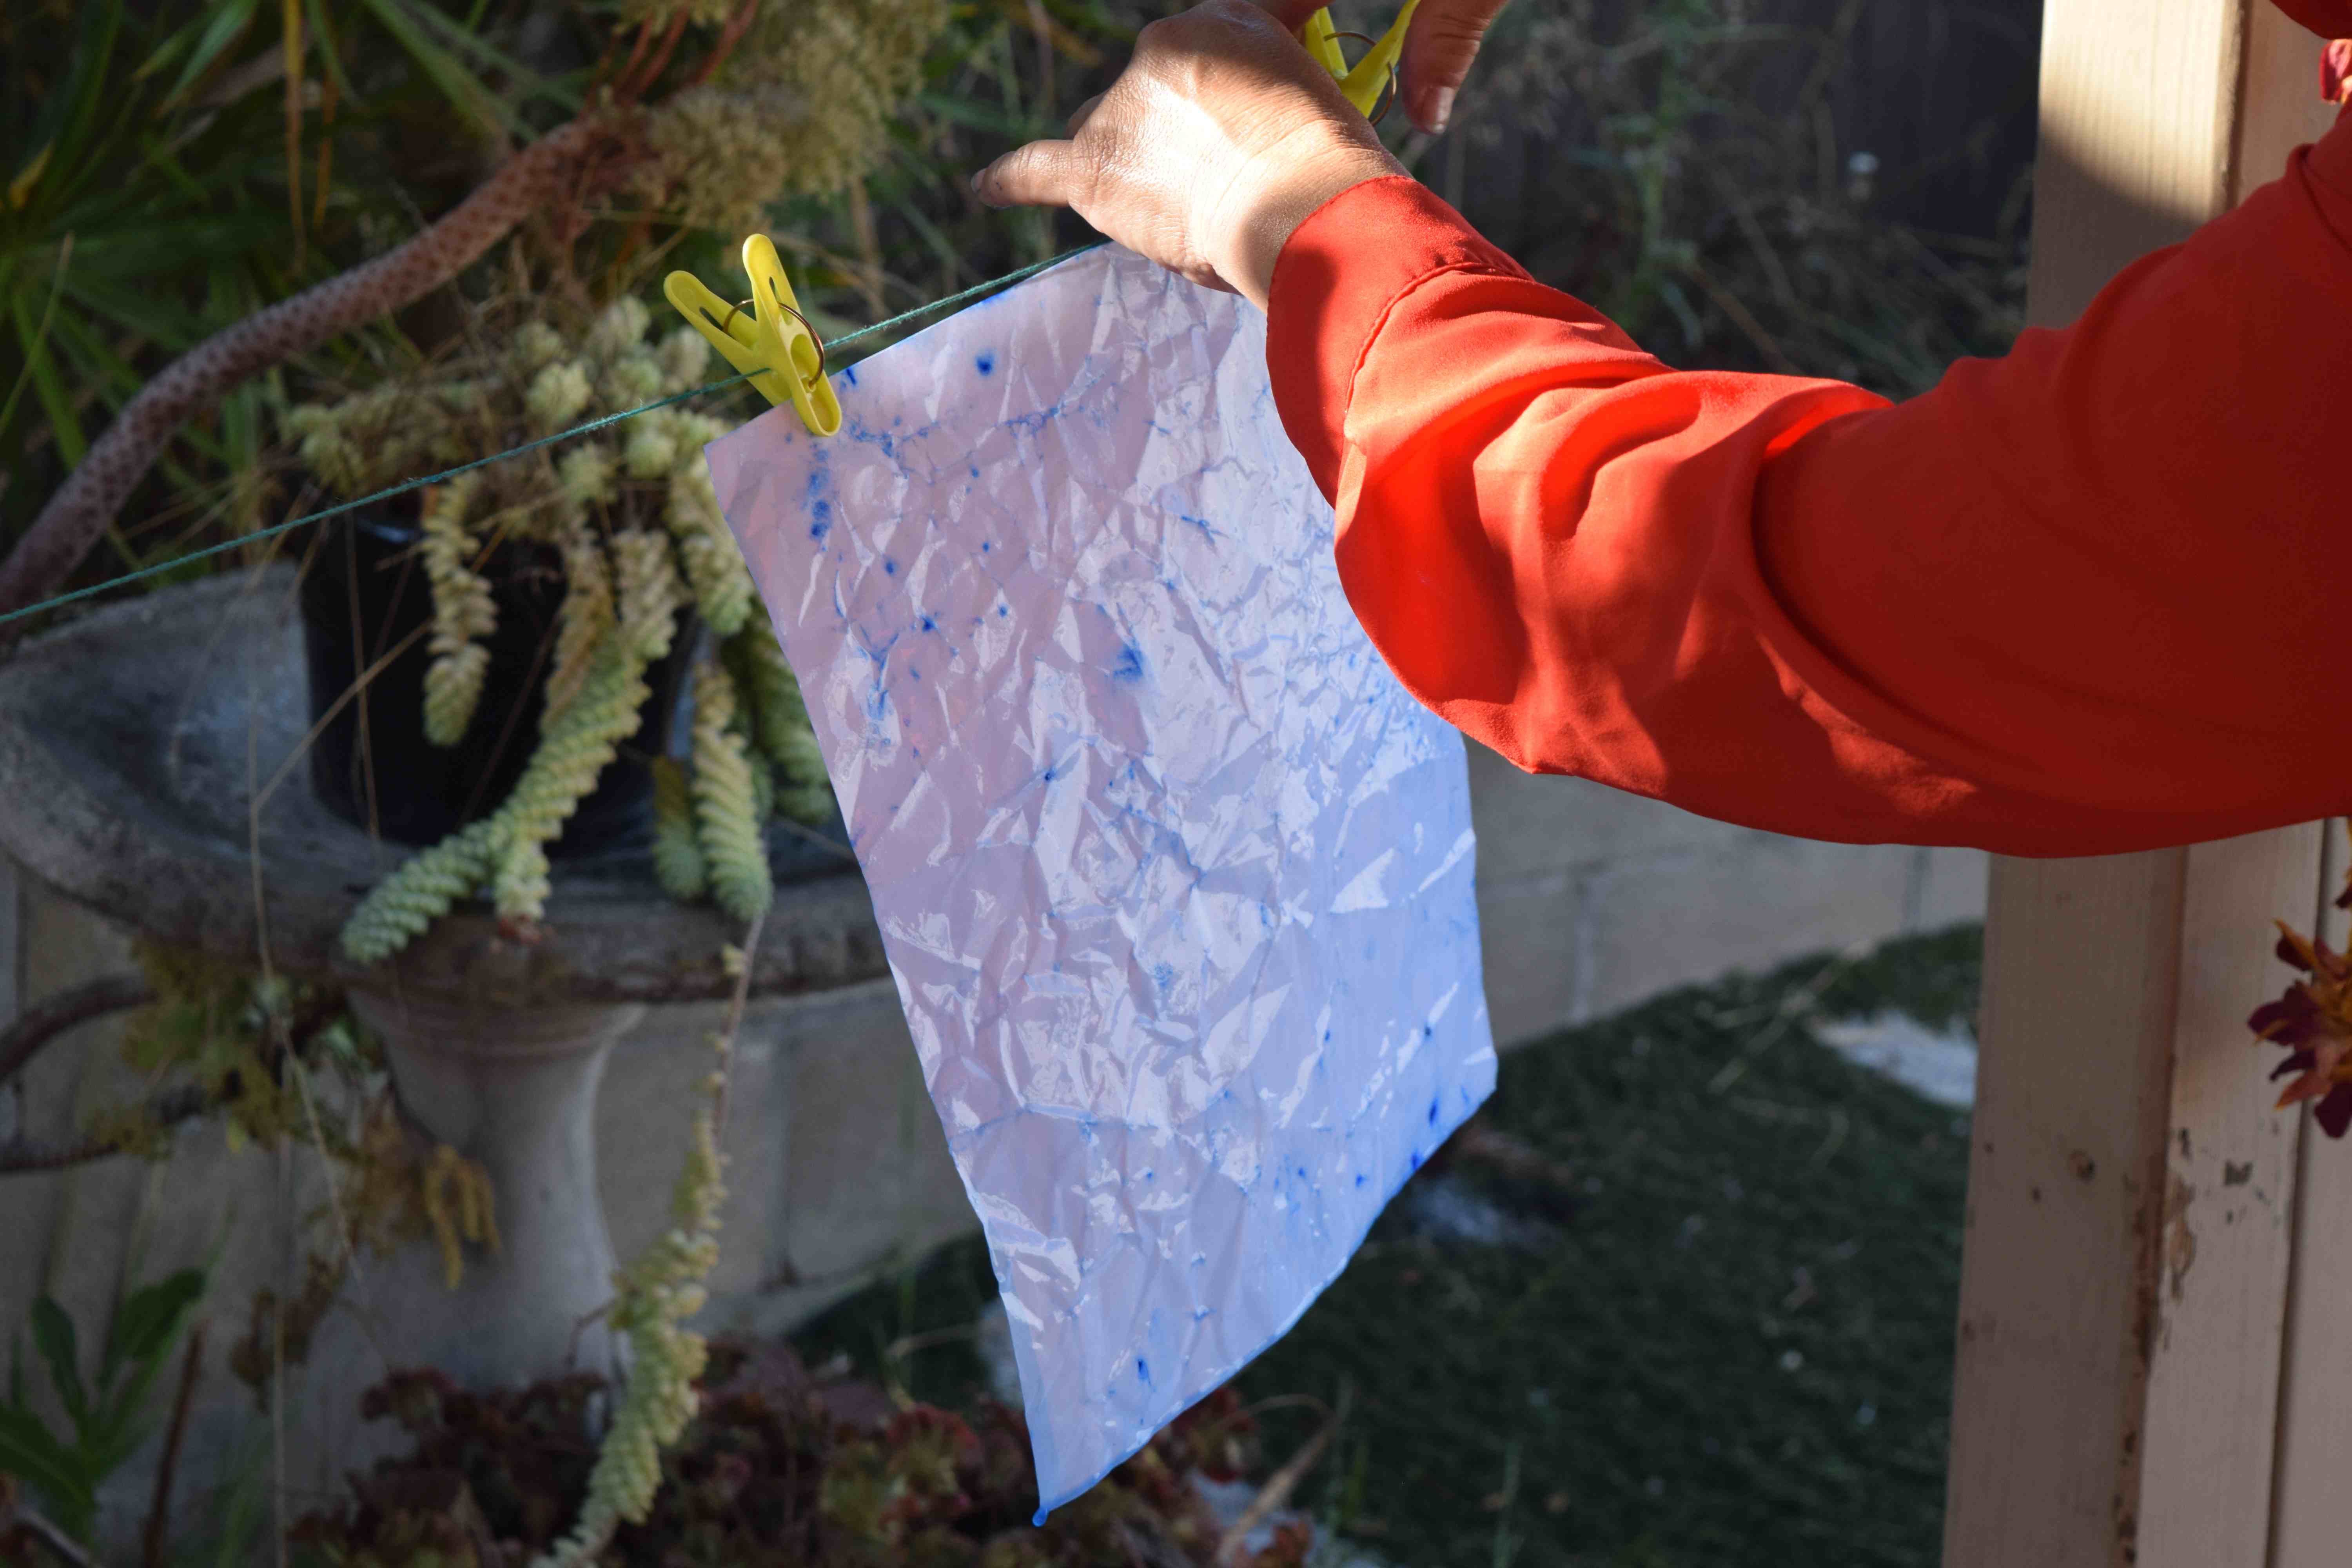
2. PLASTIC BAG TEXTURE
Crinkle plastic or wax paper over wet paint, let paint completely dry. Then remove plastic from paper. You should see interesting marks left from plastic.
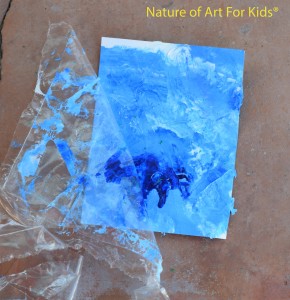
This was created with acrylic blue and white paint. I just put it down really rough without blending too much. I then placed plastic on top and smudged around until all paint covered the surface of the paper. This came out beautiful.
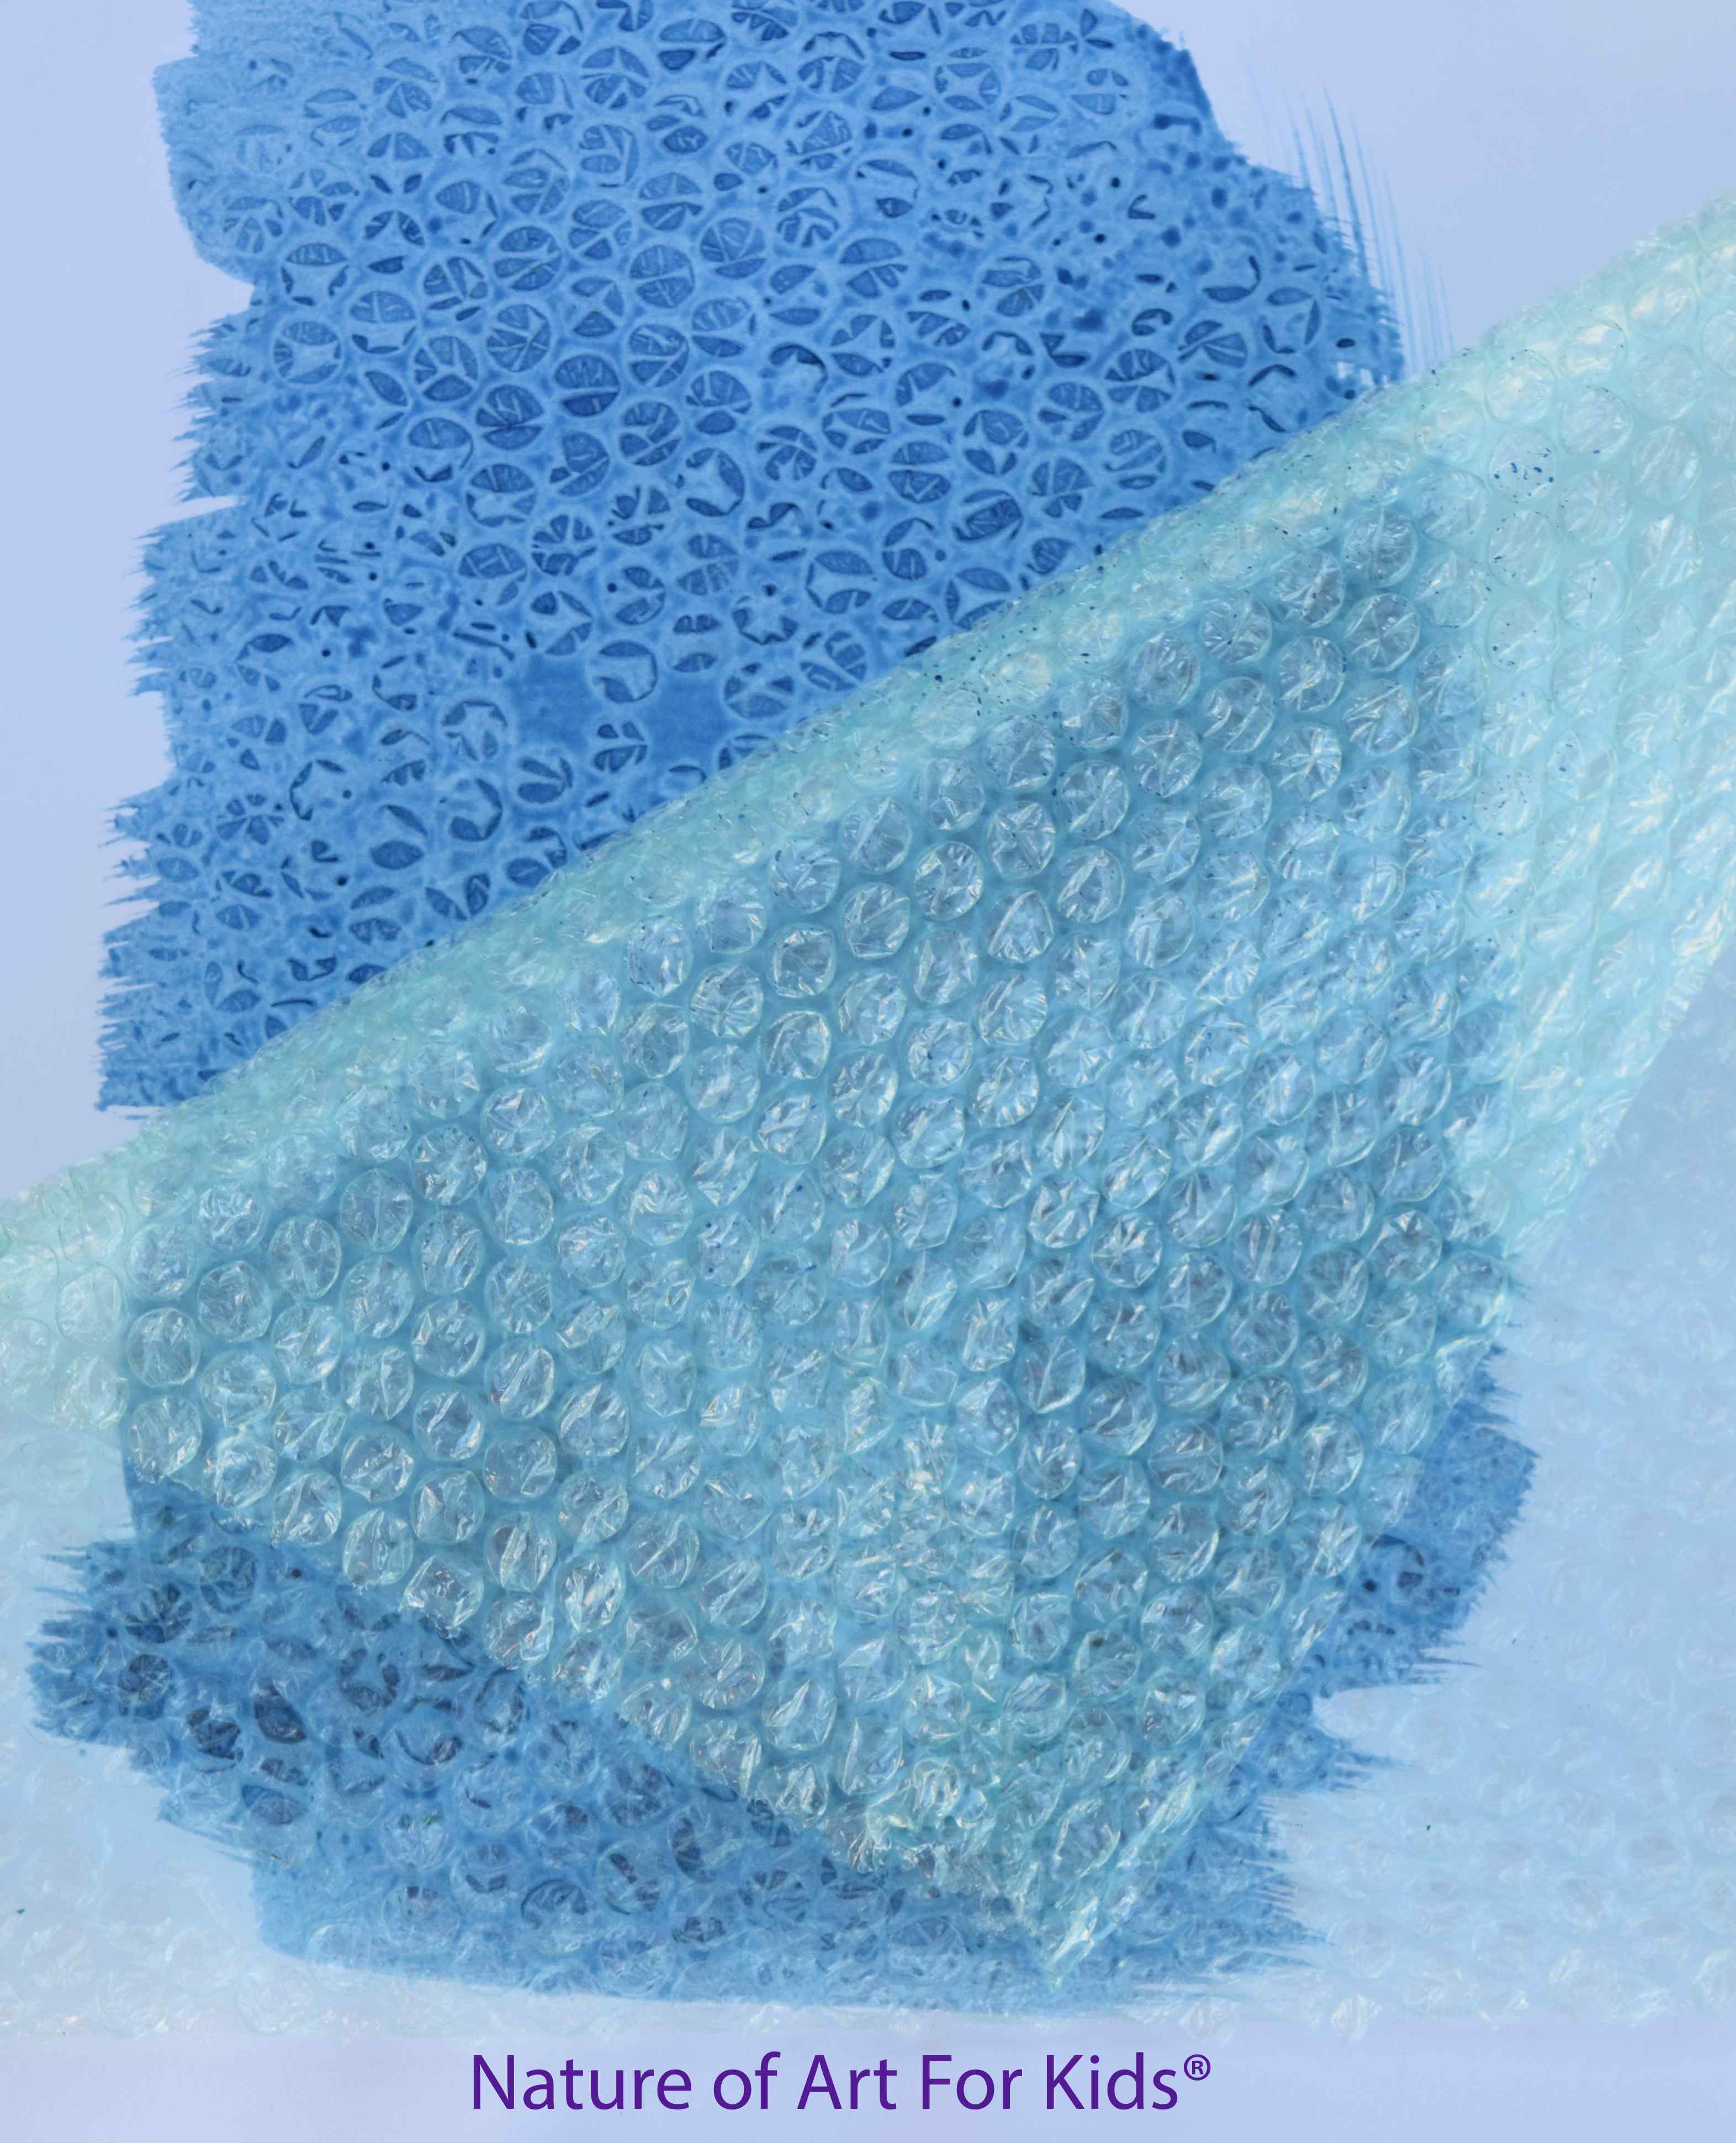
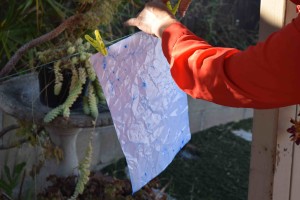
3. BUBBLE WRAP TEXTURE
This texture was so much fun to do and easy. I was looking around for plastic and found bubble wrap instead!
Paint the paper with a wet wash of blue paint, then lay the bubble wrap on top. Press firmly, then leave flat to dry for a few hours. Pull off and wow, you will see the texture of the bubble wrap left on paper. If it helps place a book on top while trying.
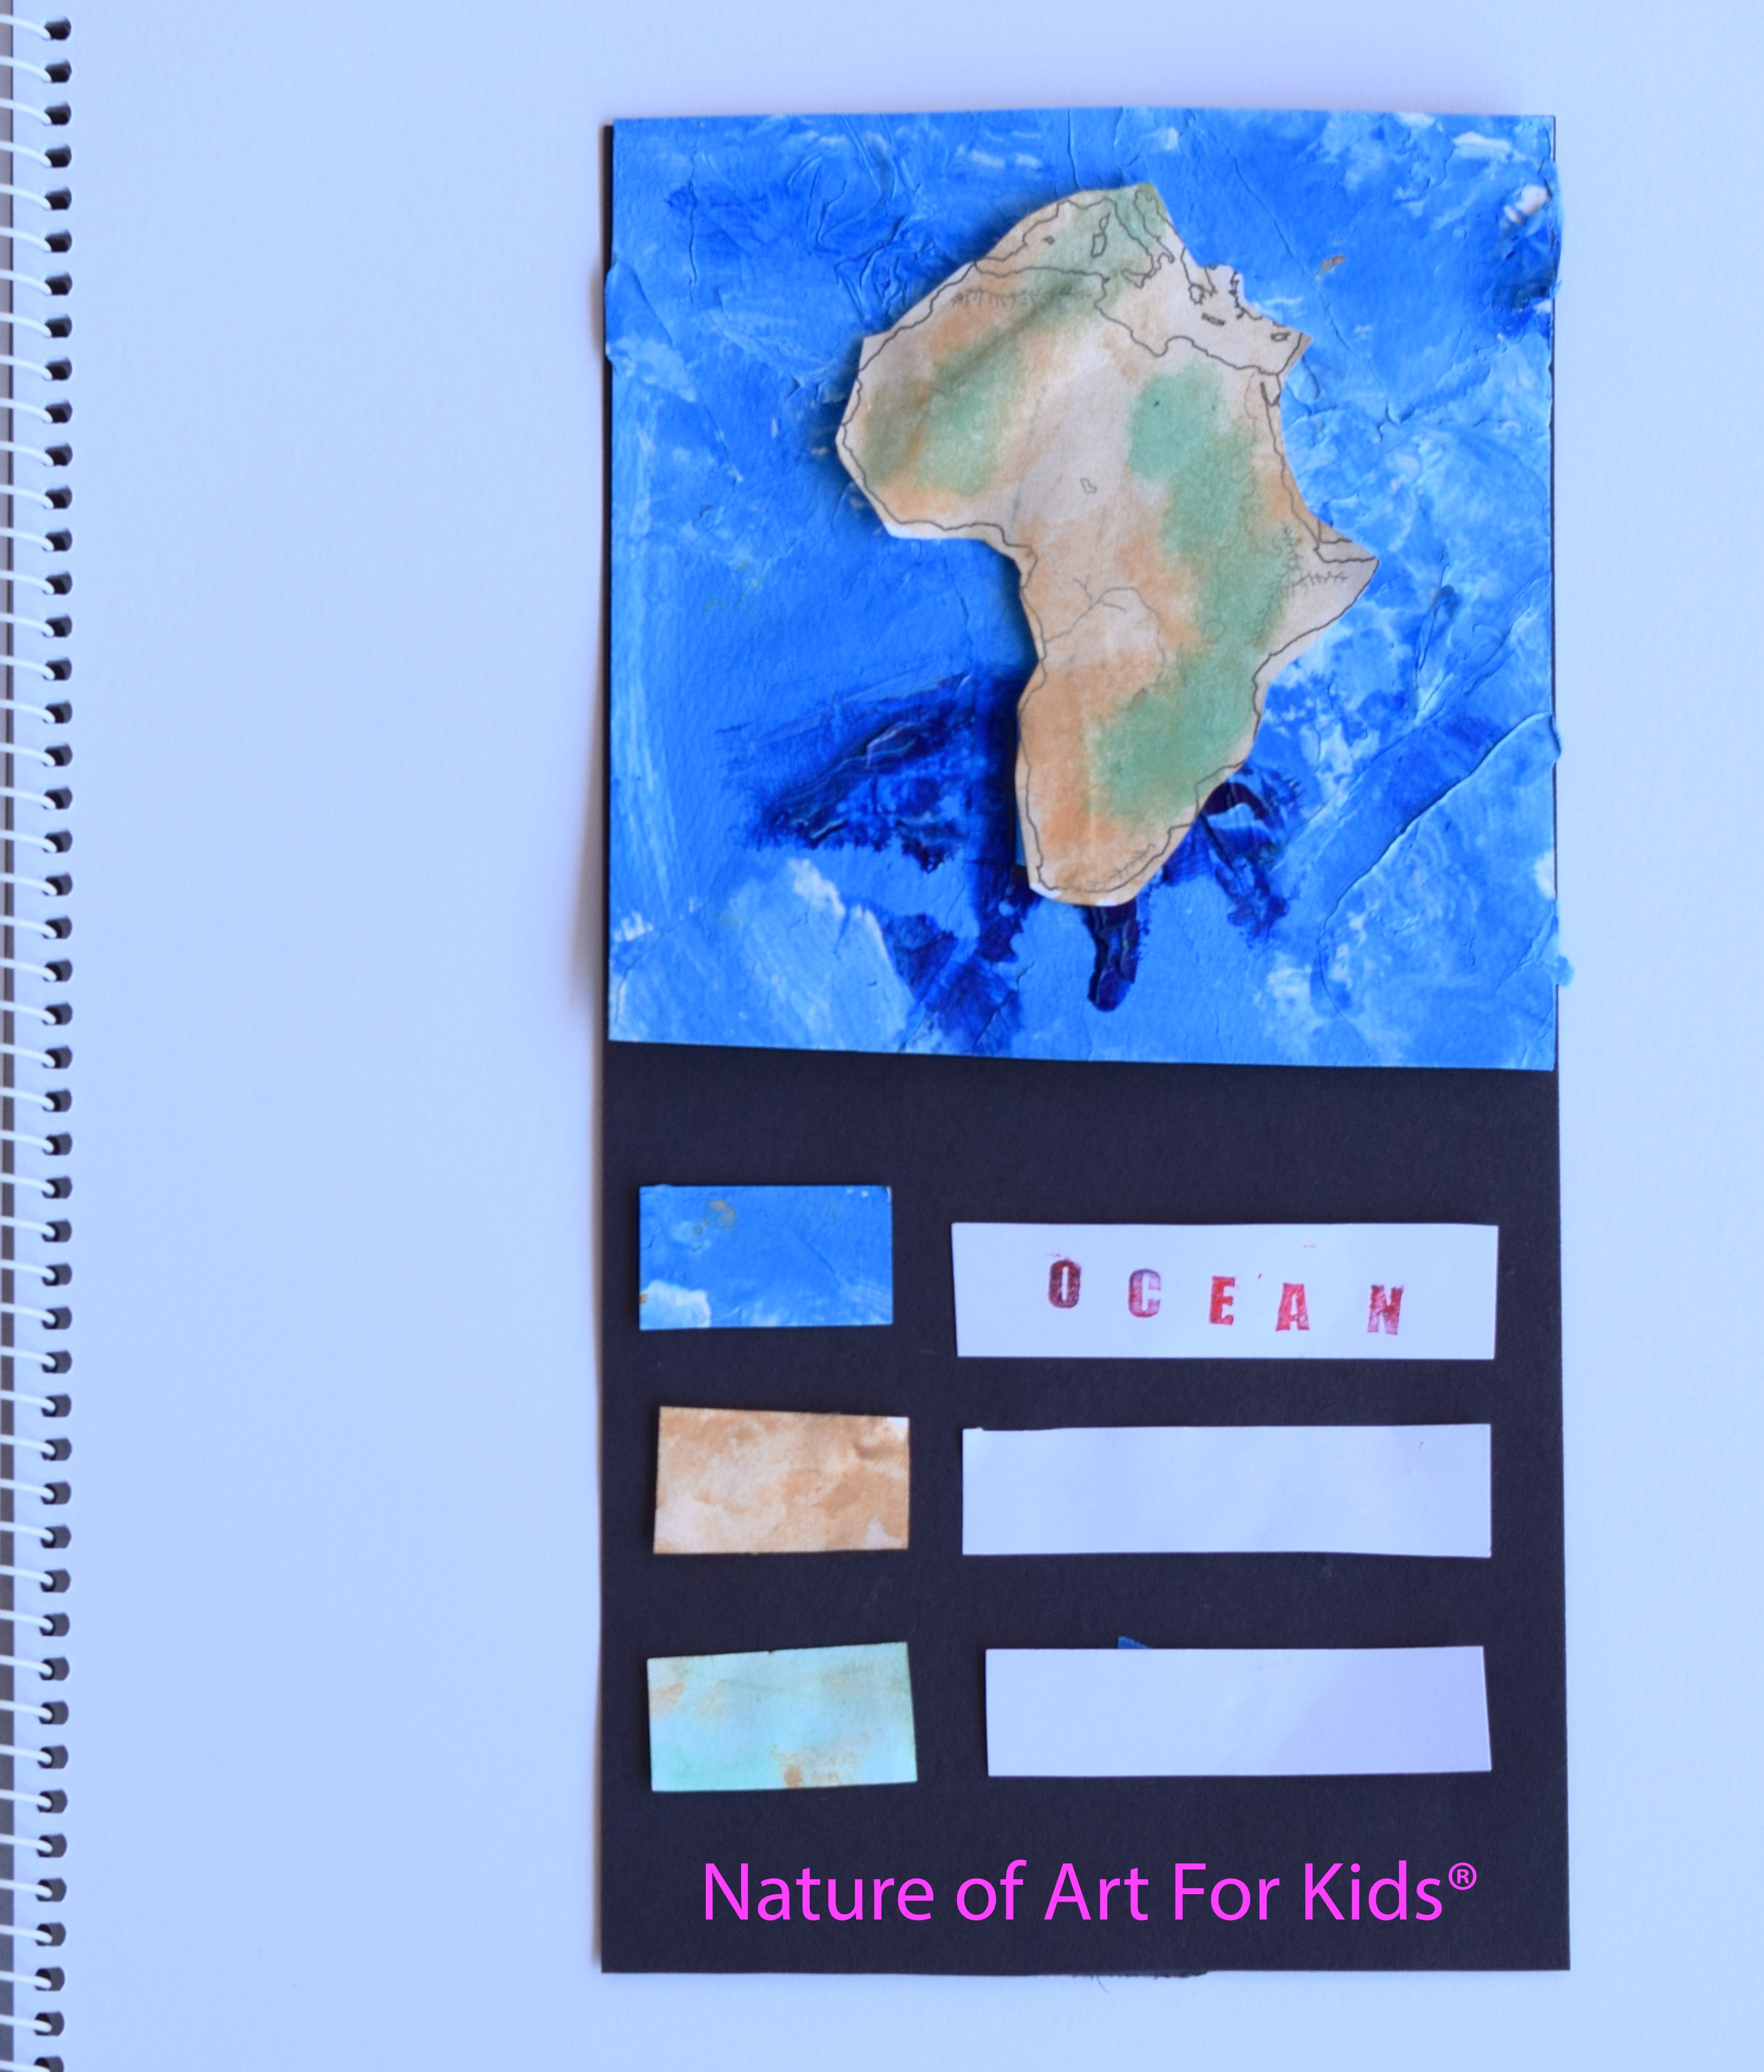
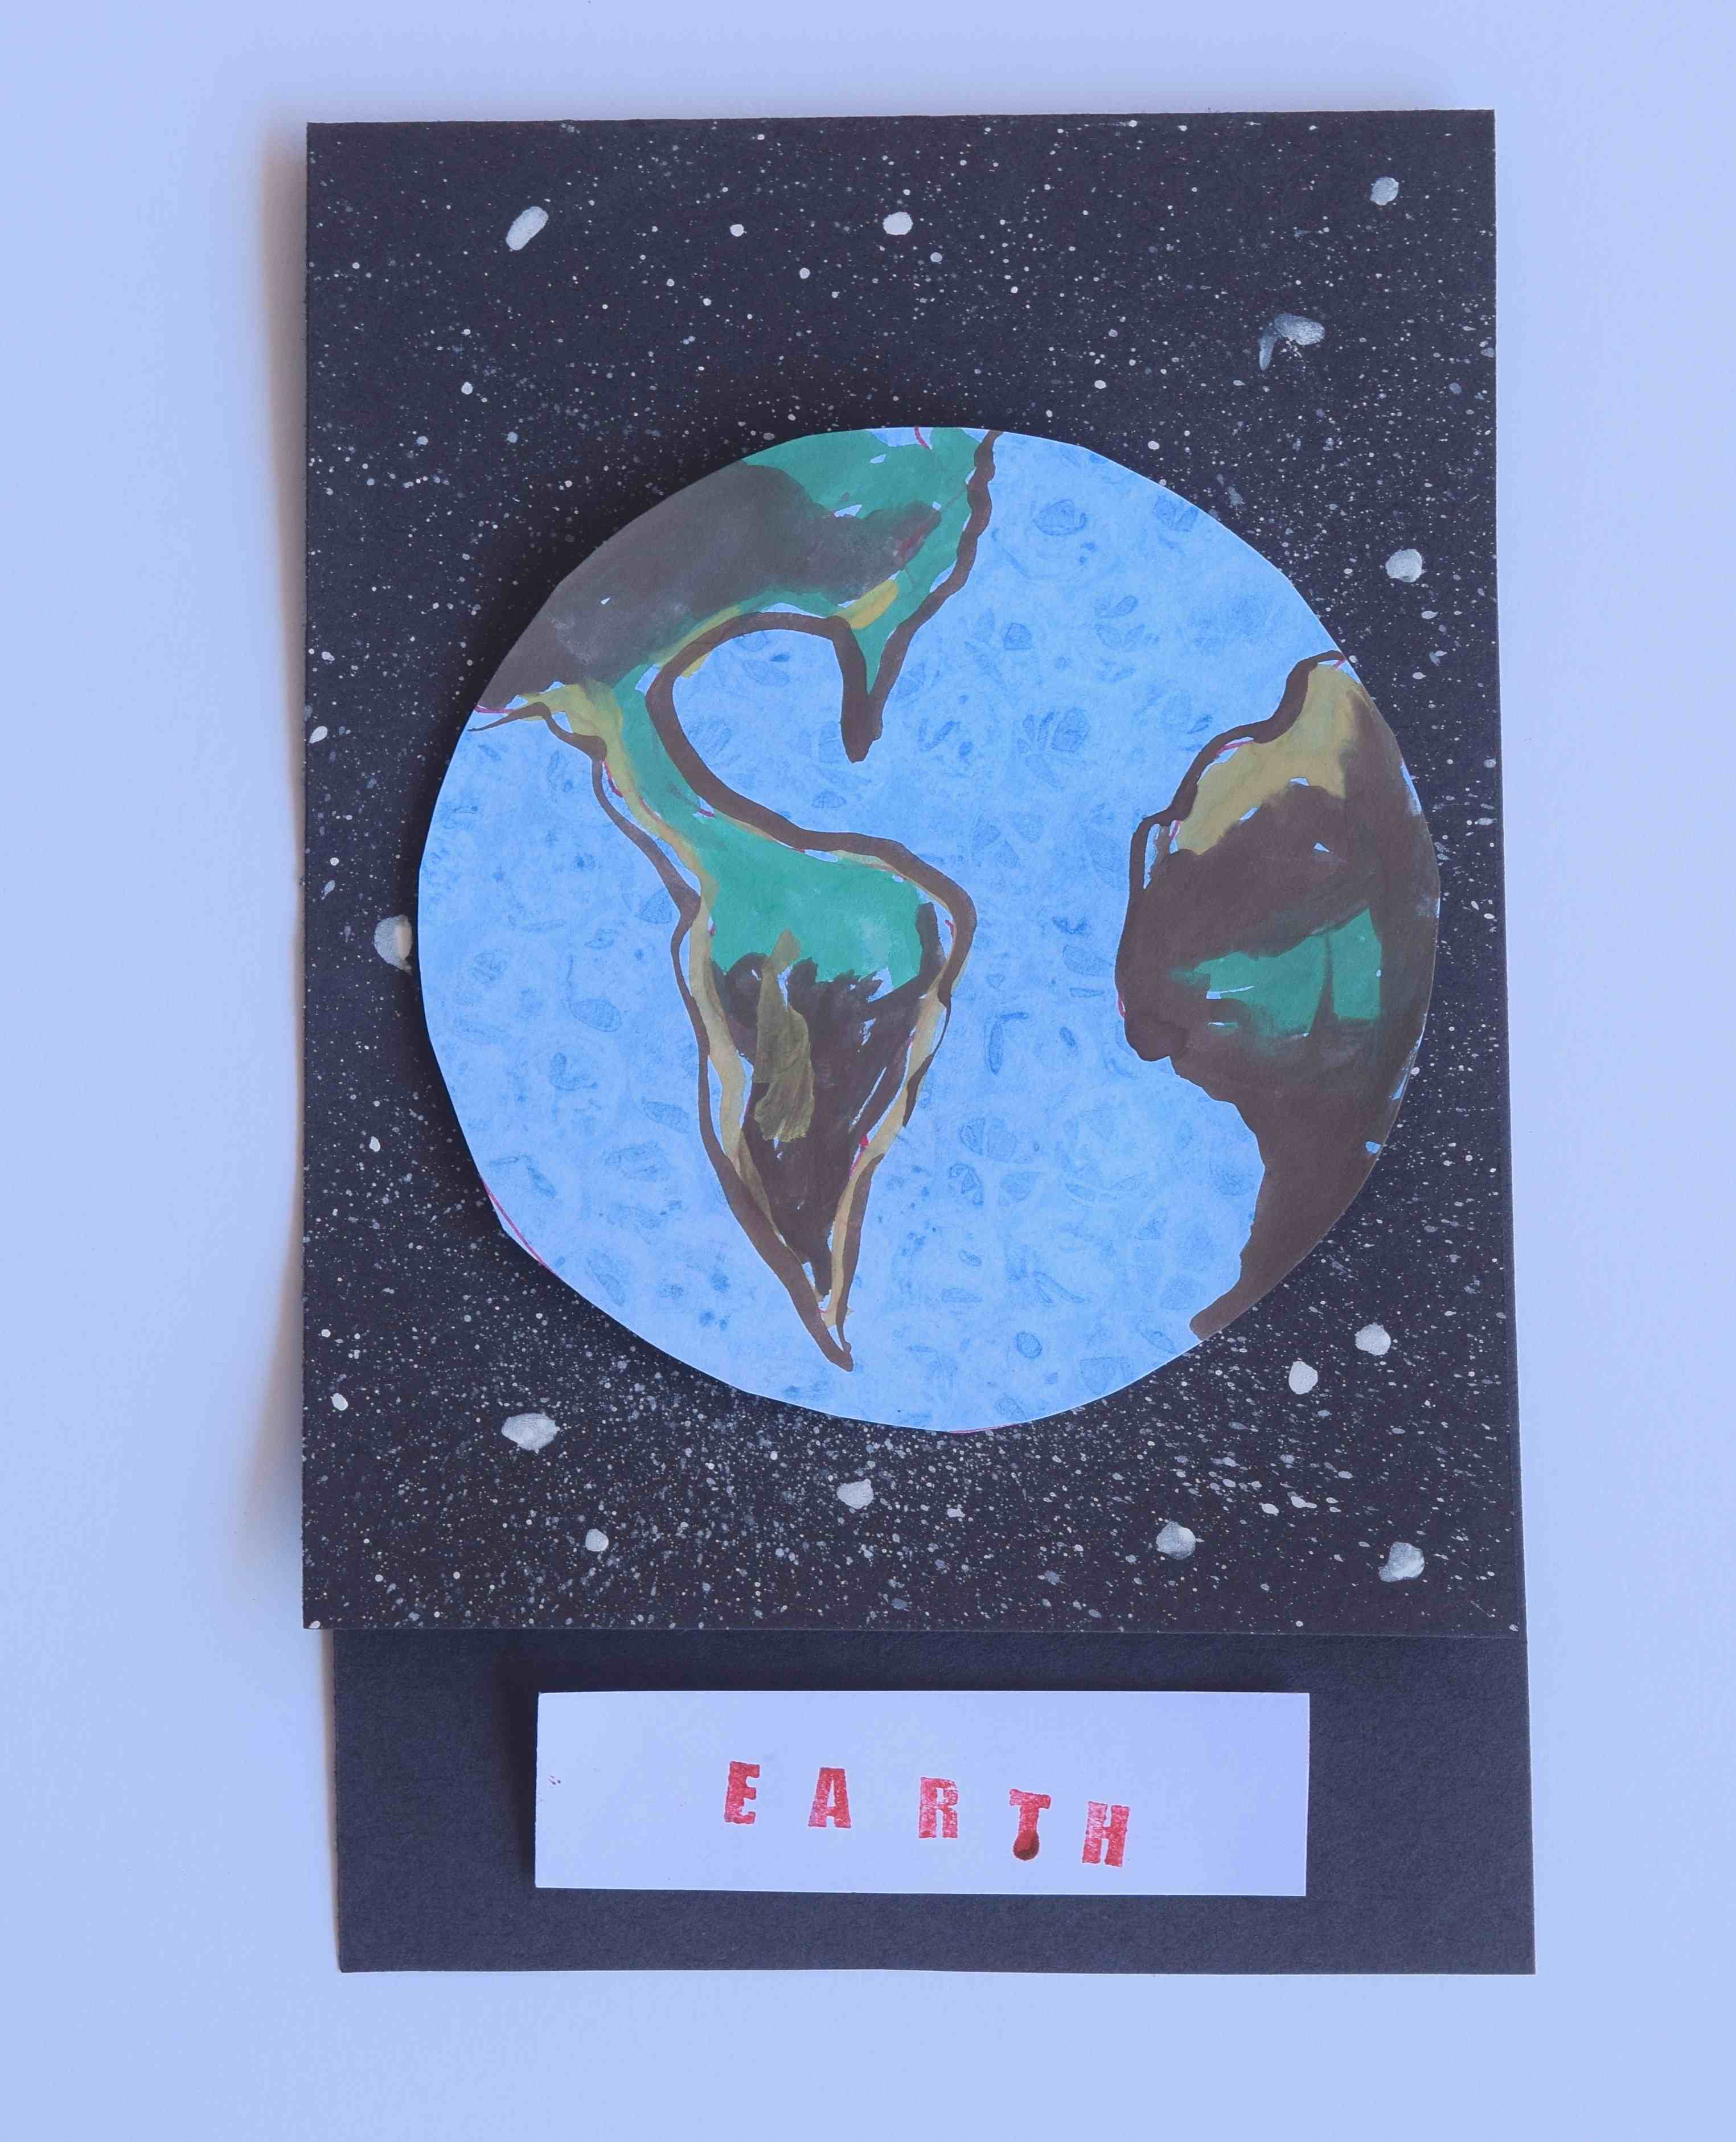
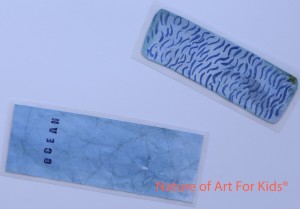
If you look at these four small black booklets below. I created the ocean, river, lake and pond. You can see how great this creates a nice texture and use of scraps.


