
By Spramani Elaun
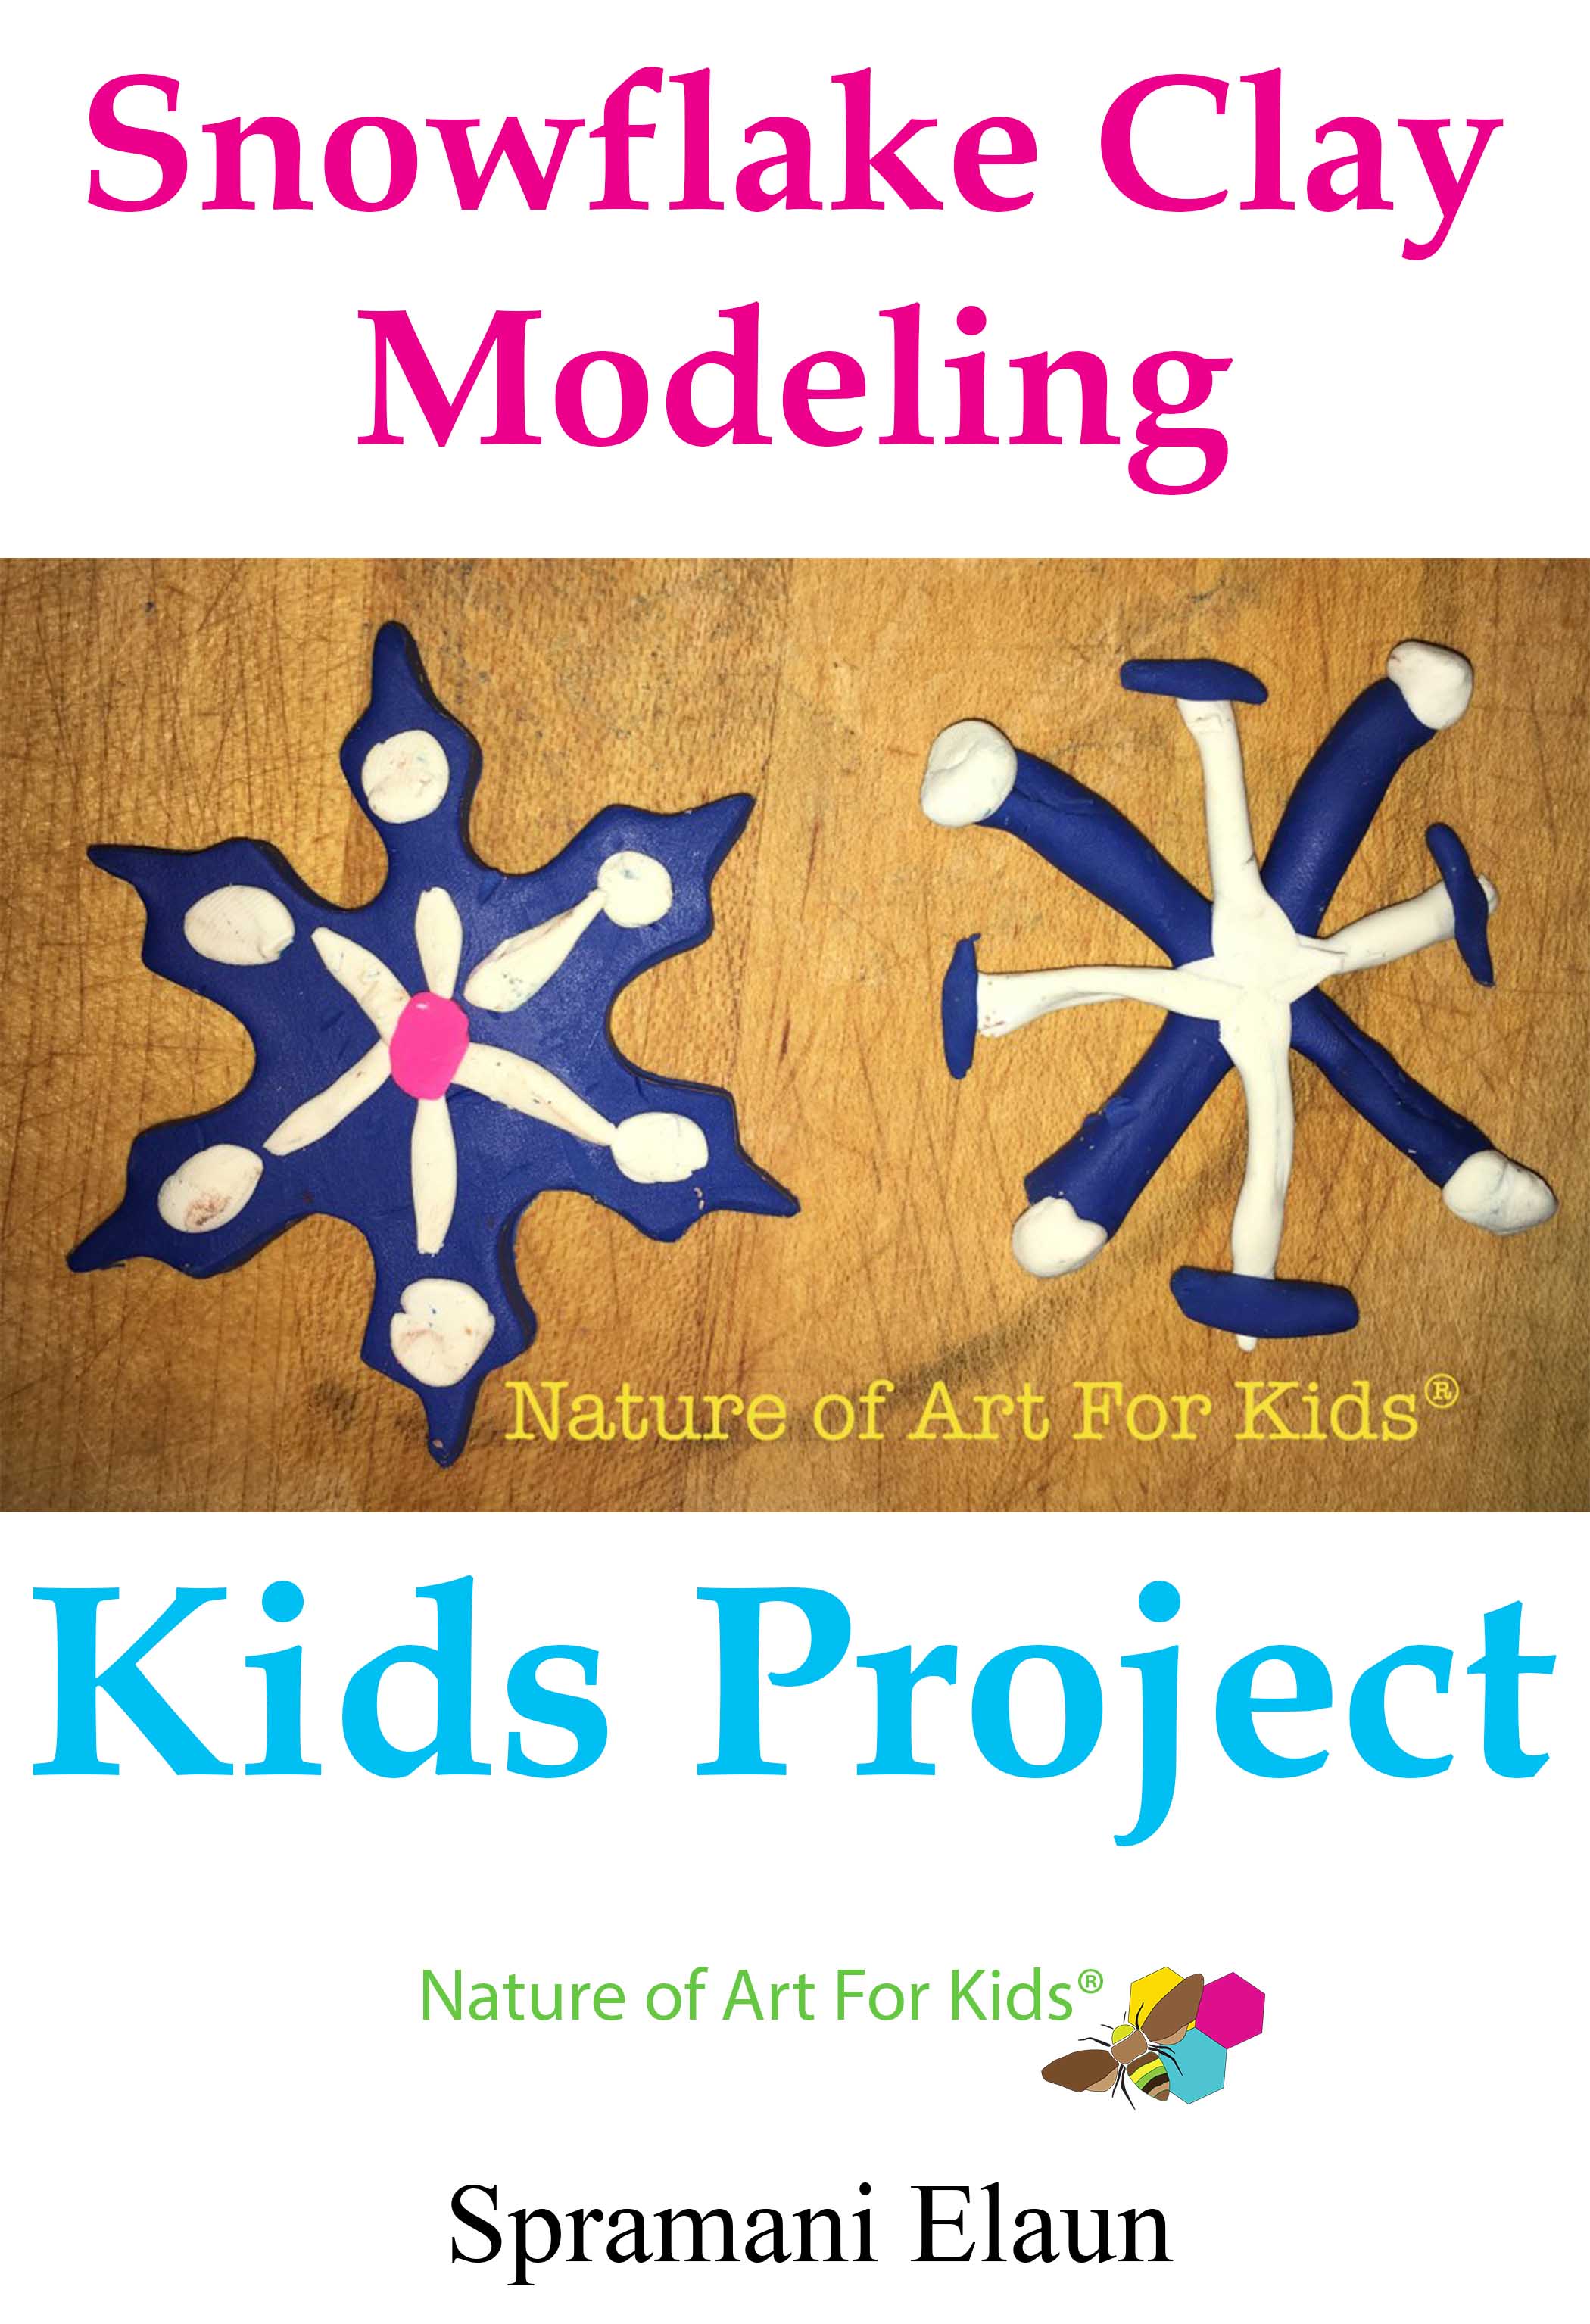
Make Clay Snowflake Kids Winter Project
In this blog I want to share a fun way kids can learn how wonderful and unique snowflakes are!
In my new book Clay Play, I share all the wonderful benefits clay modeling has on the brain.
You can learn all about my book Clay Play by checking out the links below.
Learning about make clay snowflakes, and how they are all different is easy for kids to understand by doing this project.
The idea behind this project, is for kids to shape and model their own snowflakes with clay, using their own hands.
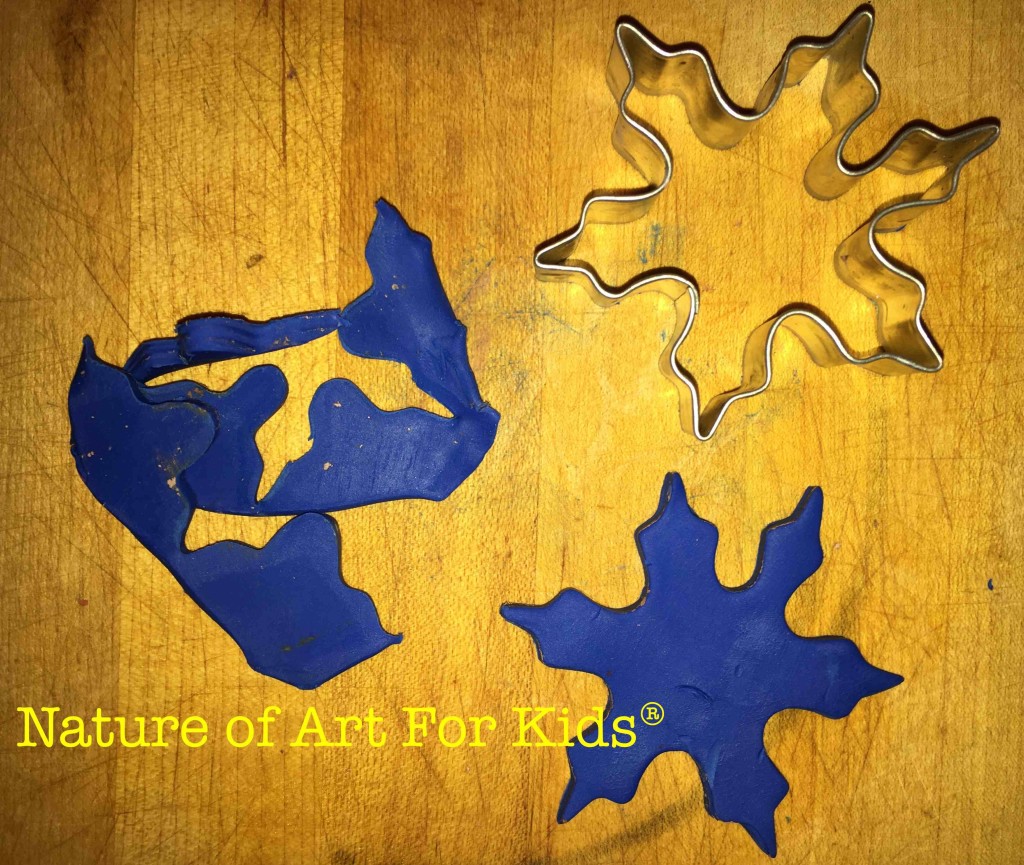
Another great way to make a snowflake is to use a snowflake cookie cutter shape.
Kids love using rolling pins and cookie cutters!
My young art students have a blast using these tools.
Modeling with clay is perfect sensory fine-motor active learning.
Learning about and hand modeling snowflakes is also a great way to learn science.

What you will need to make snowflakes.
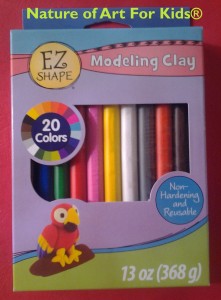
Clay
Non-Harden Palestine Clay
Colors: Blue and white
Tools:
Rolling-pin
Snowflake cookie cutter
If you don’t have either one of these, thats Ok.
Kids can do this project using their hands only.
Snowflake cookie cutter shapes can be found in the baking area of department stores or hobby stores for a few dollars.
Buy Clay Here!
Snowflake Modeling Steps:
- Make a round ball by rolling clay on a table surface, or between hands.
- Flatten the ball into a pancake shape, then roll flat with a rolling-pin, hands can work too if you don’t have a rolling pin.
- Press cookie cutter into the clay, clear away extra clay around outside edges of cookie cutter shape, and push out gently.
- This takes lots of practice.
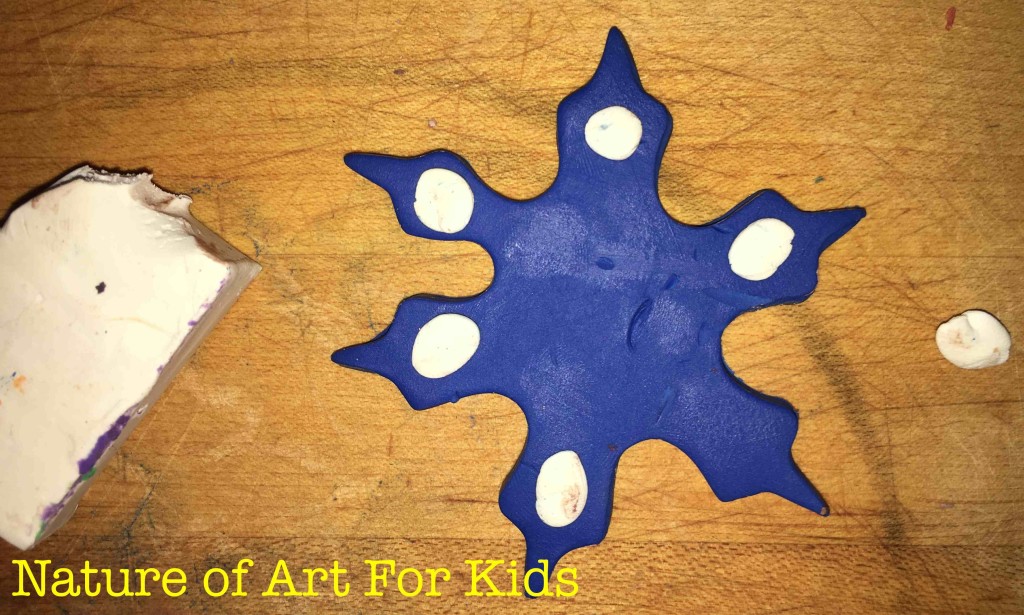
- Have kids decorate by pressing and pushing white clay pieces into each side of the snowflake.
Remember it’s Ok if kids want to create their own version of a snowflake, or choose different colors.
This projects all about them learning about how different snowflakes are, and how they are formed.
Relax and have fun and let them create!
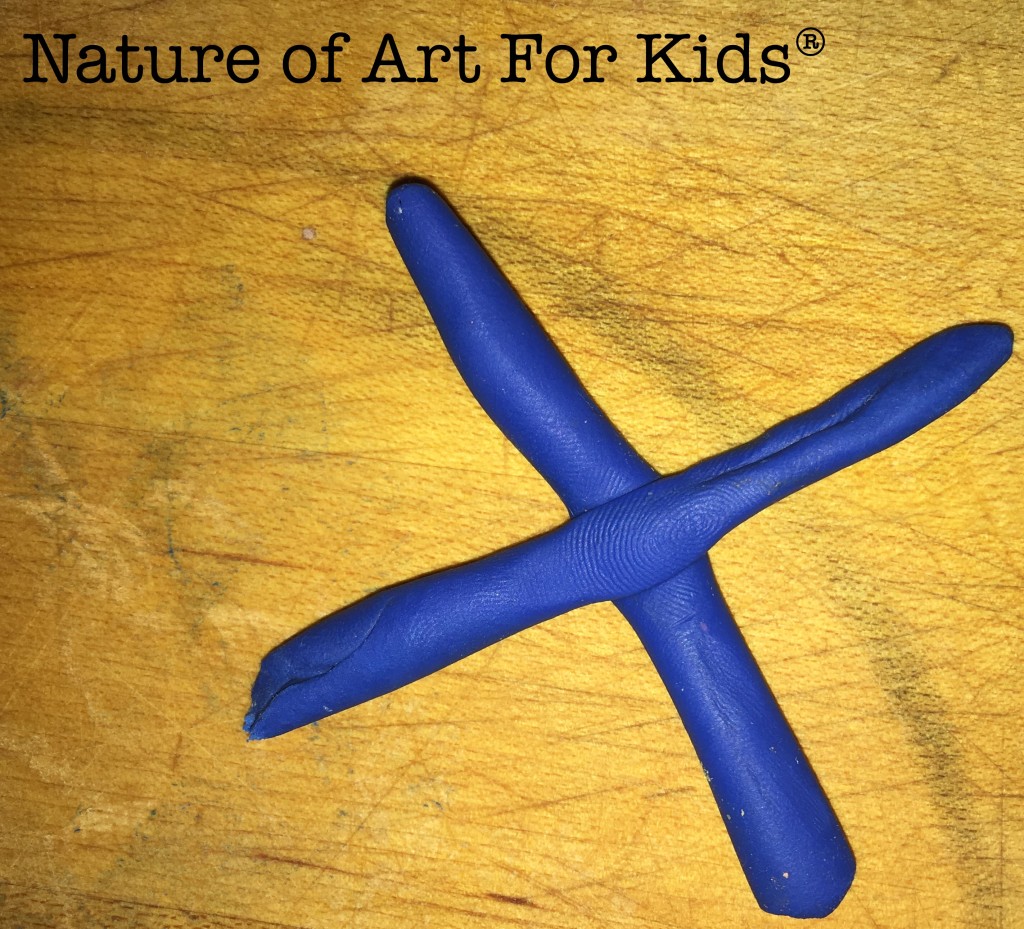
Hand modeling without a cookie cutter:
Make rope-like coils.
- Pinch off a small amount of caly, and start rolling out on a flat table surface, or between hands.
- Explain to kids how pressing or applying pressure makes the coils expand and lengthen.
- Use a cutting tool to decide how long you want the snowflake sides will be.
- Press and squeeze clay sides to attach flake design.
- Ask kids to make needle clusters around their snowflake sides.

Snowflake Science Facts
When a crystal grows, the molecule does not stack together perfectly and regularly.
Each snowflake falling from the sky travels uniquely through many different microclimates.
Every snowflake is unique and is a different shape of crystal. Snowflakes come in so many shapes!
https://spramani.lpages.co/ultimate-winter-arts-crafts-ideas-guide/
All rights reserved ©, Nature of Art For Kids®
No part of this blog may be used or reproduced in any manner whatsoever without written permission except in the case of brief quotations embodied in critical articles and reviews.

Pingback: Kids Winter Art Projects, Ideas and Inspiration | EcoKidsArt.com Official Website For – Nature of Art For Kids® School & Art Store()